Welcome to the Backpacking Food Trailhead
Making Sense of Backpacking Food
Backpacking food is just as important for the success of a trip as the gear you bring. But backpackers commonly treat food ideas, choices, preparation, gear, and storage as afterthoughts.

There are various options for preparing and storing backpacking food and an abundance of gear to help you accomplish whichever strategy you choose. Making sense of it all can be a bit overwhelming. But as with all things related to backpacking, it is worth spending the time to become informed about your options and aware of which ones are the best for you and your specific trips.
About this Trailhead
This article is one of Backpacking Light’s curated gateway pages (a trailhead, so to speak). Here, you’ll find information and resources about backpacking food ideas, cooking gear, and food storage techniques.
We’ve got resources to help you dial in nutrition and calories per ounce, techniques and cooking equipment for preparing food in the front country and backcountry, and information about different backpacking food ideas, choices and storage strategies.
About this Trailhead: Curated and maintained by our staff, this Trailhead page includes an overview of the topic and links to information and resources on the Backpacking Light website. Those resources may consist of gear reviews, technology and testing, research, skills articles, online education (webinars, masterclasses, or other types of online courses), podcast episodes, forum threads, product recommendations, and other discovery tools, including our Gear Finder, Gear Shop, and Site Search engine.
Table of Contents • Note: some sections may only be available to Premium or Unlimited Members.
- Welcome to the Backpacking Food Trailhead
- How do I plan my backpacking food menu?
- How do I resupply backpacking food on long trips?
- Grocery store backpacking food resupply hacks?
- How can I prepare backpacking food?
- How to dehydrate backpacking food
- How to freeze-dry backpacking food
- Backpacking food preparation methods: cooking or cold-soaking?
- What is cold-soaking?
- Cooking backpacking food in the backcountry
- What are the different types of backpacking stoves?
- Should I use a windscreen?
- What backpacking pot should I use?
- What type of utensils do I need on a backpacking trip?
- What’s the best way to store backpacking food while camping in the backcountry?
- What brands are the main suppliers of backpacking food, stoves, and cooking and storage supplies?
- Search and discovery
- Help us maintain this page
Depending on if you’re doing a multi-week thru-hike or a quick overnight trip, your food choices will vary significantly and might depend on:
- dietary restrictions
- allergies
- caloric needs
- available cooking and storage gear
- willingness to cook and do dishes
- season and weather conditions
- wildlife activity in your backpacking area
- and more
Figuring out what works best for you will come with time, experience, the advice of others, and trial and error. Perhaps the biggest two considerations are:
- How much food do I bring backpacking?
- What kind of food should I bring backpacking?
These links provide consistent, data-driven, nutrition-first answers to these questions.
- Skills: How Much Food Should I Pack? (How to save weight on backpacking food based on the energy-mile theory)
- Podcast: Episode 003 | Backpacking Food and Nutrition
- Webinar: Backpacking Food and Nutrition
- Podcast: Episode 028 | Making Your Own Backpacking Meals
- Skills: Food Planning Using Pounds Per Person Per Day
It’s also worth making sure you will actually eat the food you plan to bring with you. Altitude and exhaustion can both make backpacking food hard to choke down. Read this article for some insights on how to choose food you’ll actually eat:
How do I resupply backpacking food on long trips?
There are three methods to resupply on long trips.
- Bring all your needed food with you (no resupply).
- Cache food or have it sent to drop-off points like post offices, ranger stations (where applicable), or hostels.
- Resupply along the way at grocery stores, general stores, and gas stations.
Grocery store backpacking food resupply hacks?
Supplying and re-supply at grocery stores, general stores, and gas stations is a very common way of handling backpacking food. It requires the least amount of prep upfront and provides the greatest flexibility and often the lowest pack weights. The downsides are it can be the most expensive option, and choices are often limited at small-town grocery stores. And of course, on serious wilderness excursions, there aren’t any stores.
But you don’t have to only look for stores along the way. You can always use grocery stores as a supply depot before you leave, and bring along or send yourself the meals you prepare.
Becoming adept at recognizing which grocery store brands, meals, and snacks require the least amount of repackaging, are shelf-stable or safe to keep unrefrigerated for days at a time, and are easy to cook or consume in the backcountry is something that will come with practice and the advice of others.
Tap into our community’s expertise for help with this:
- Forum: Easy Ultralight Backpacking Foods from the Grocery Store
- Forum: Grocery Store Recipes for a beginner Backpacker
- Forum: USA Supermarket resupply; what do you buy?
The next step is preparing and packaging the foods that you’ll be bringing along.
How can I prepare backpacking food?
The most common ways of preparing meals for the backcountry are dehydration and freeze-drying. Each method has pros and cons. Check out this forum post:
- Skills: Home Freeze-Drying vs. Other Trail Food Preparation Strategies
- Forum: Freeze-dried vs. dehydrated backpacking food
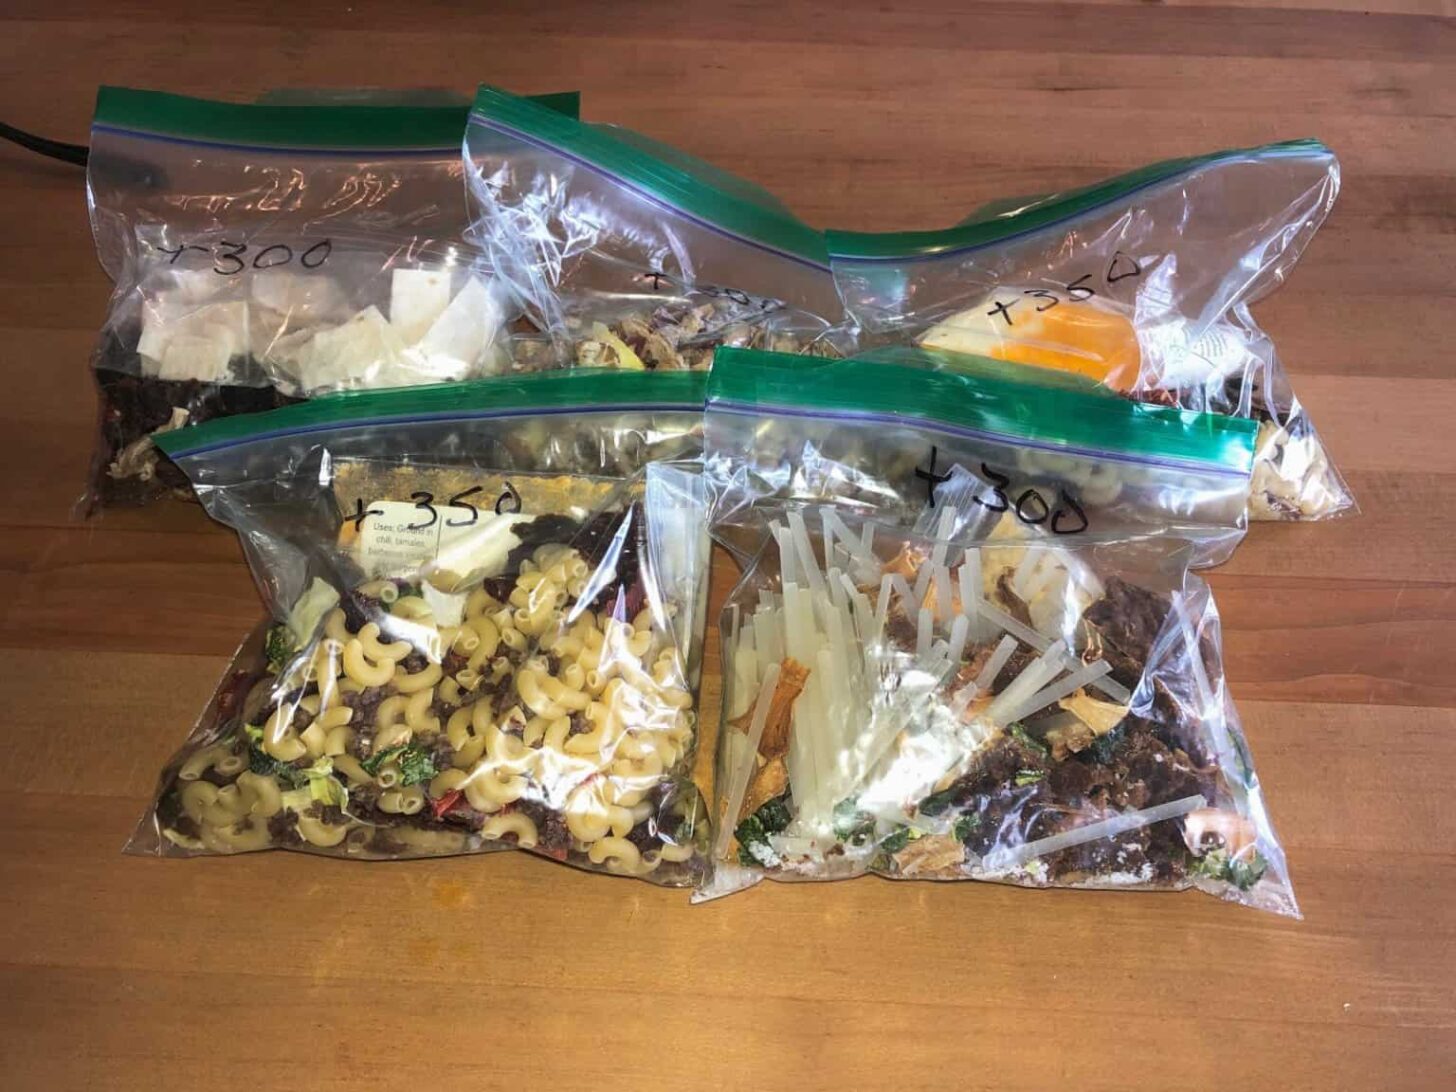
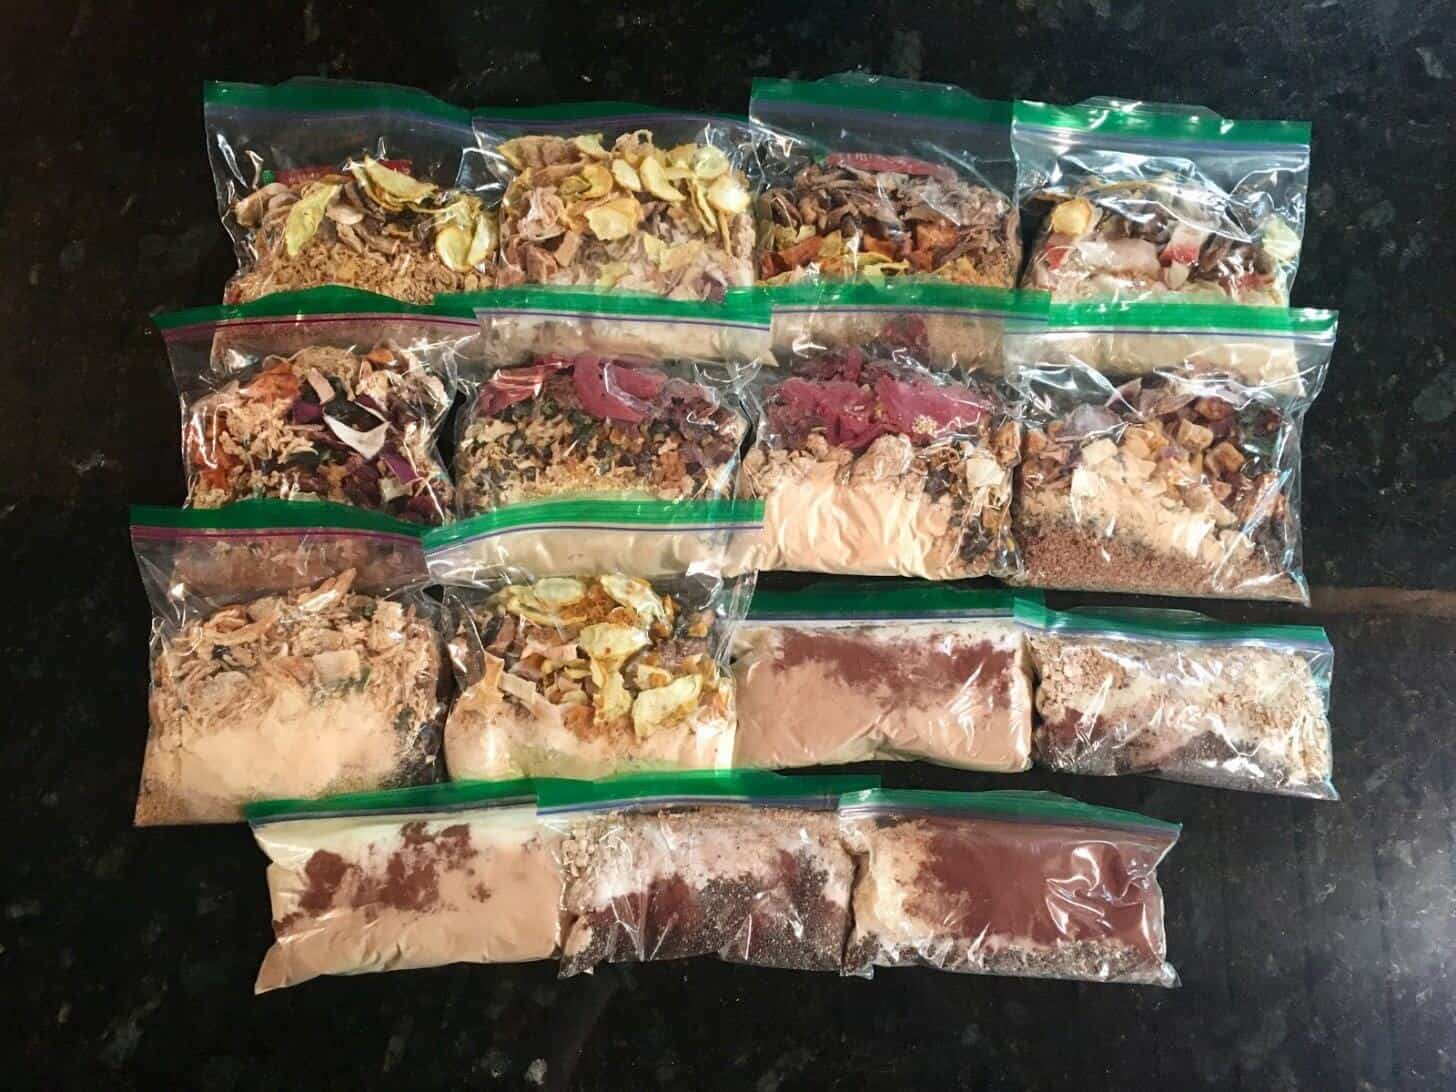
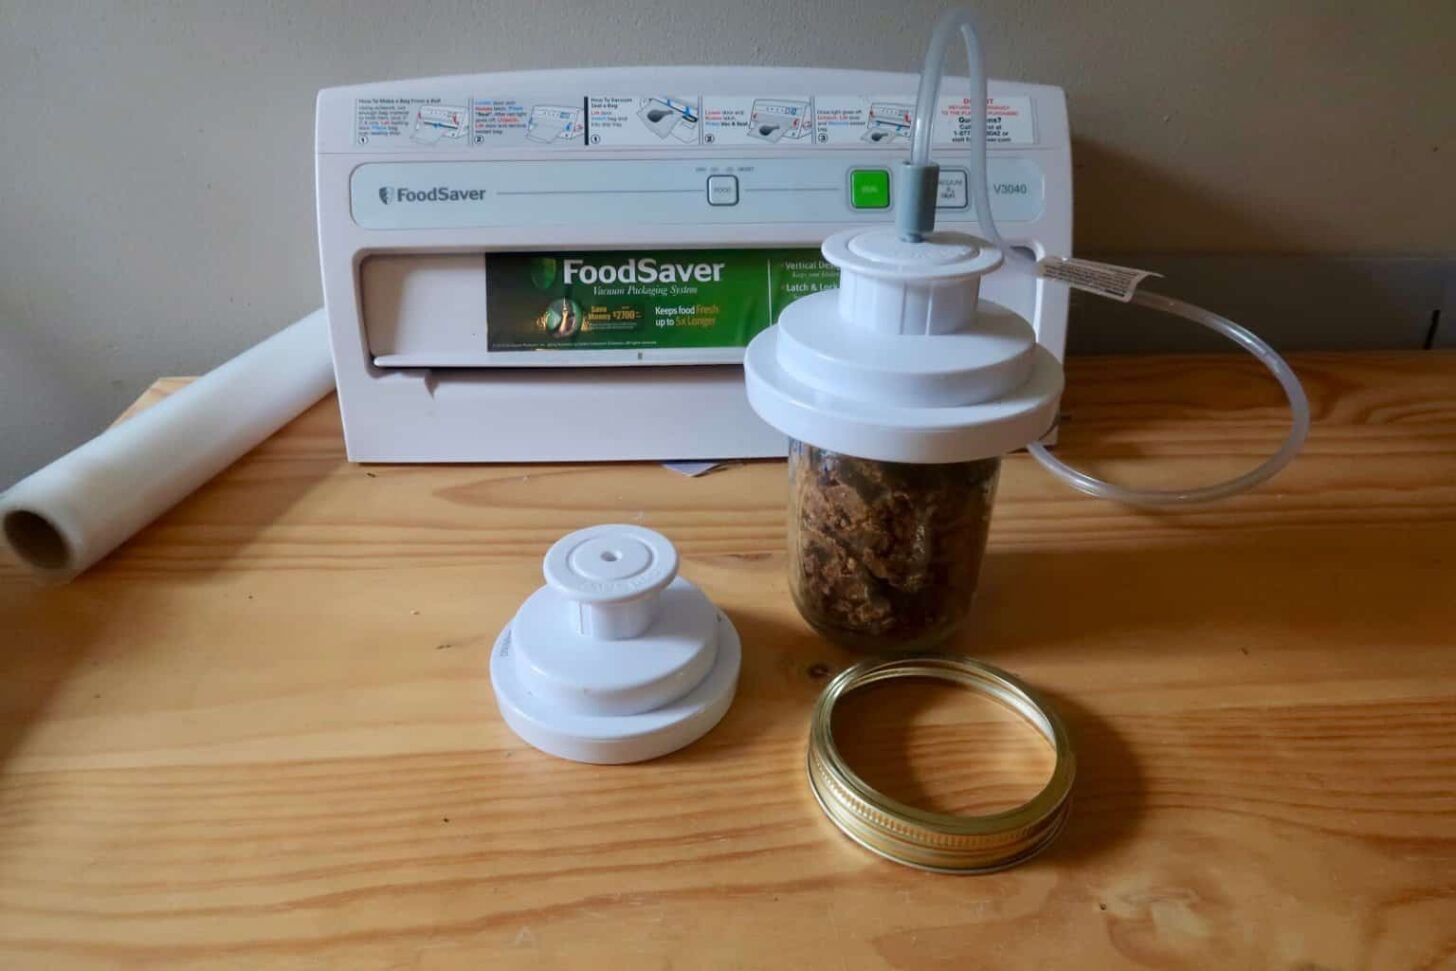
How to dehydrate backpacking food
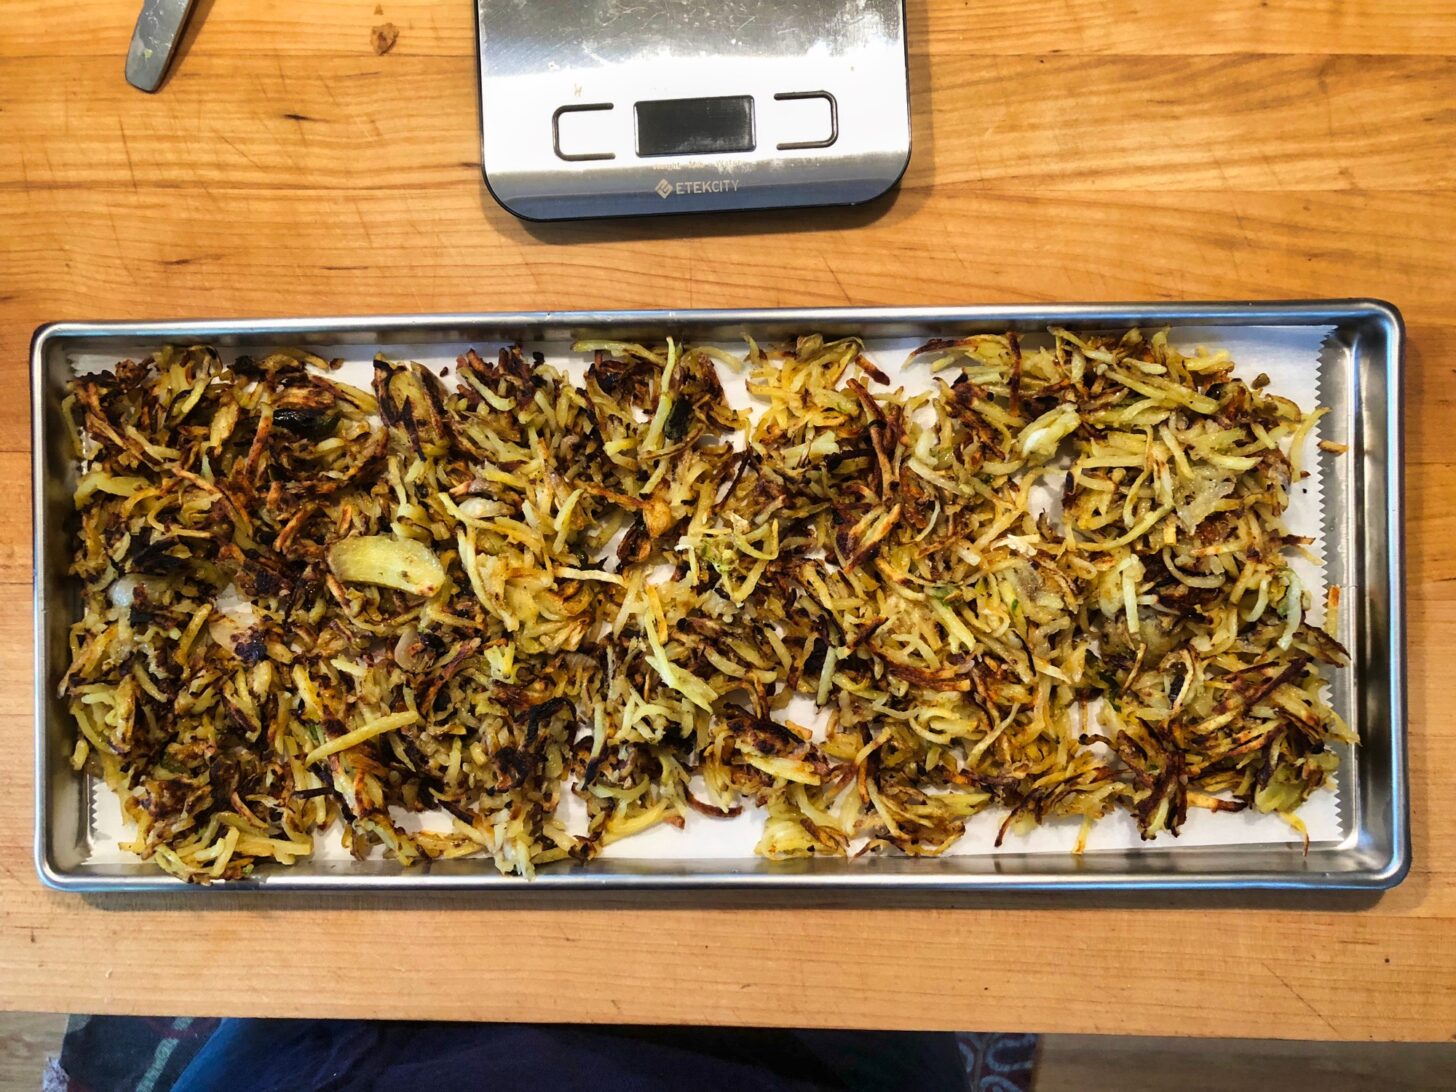
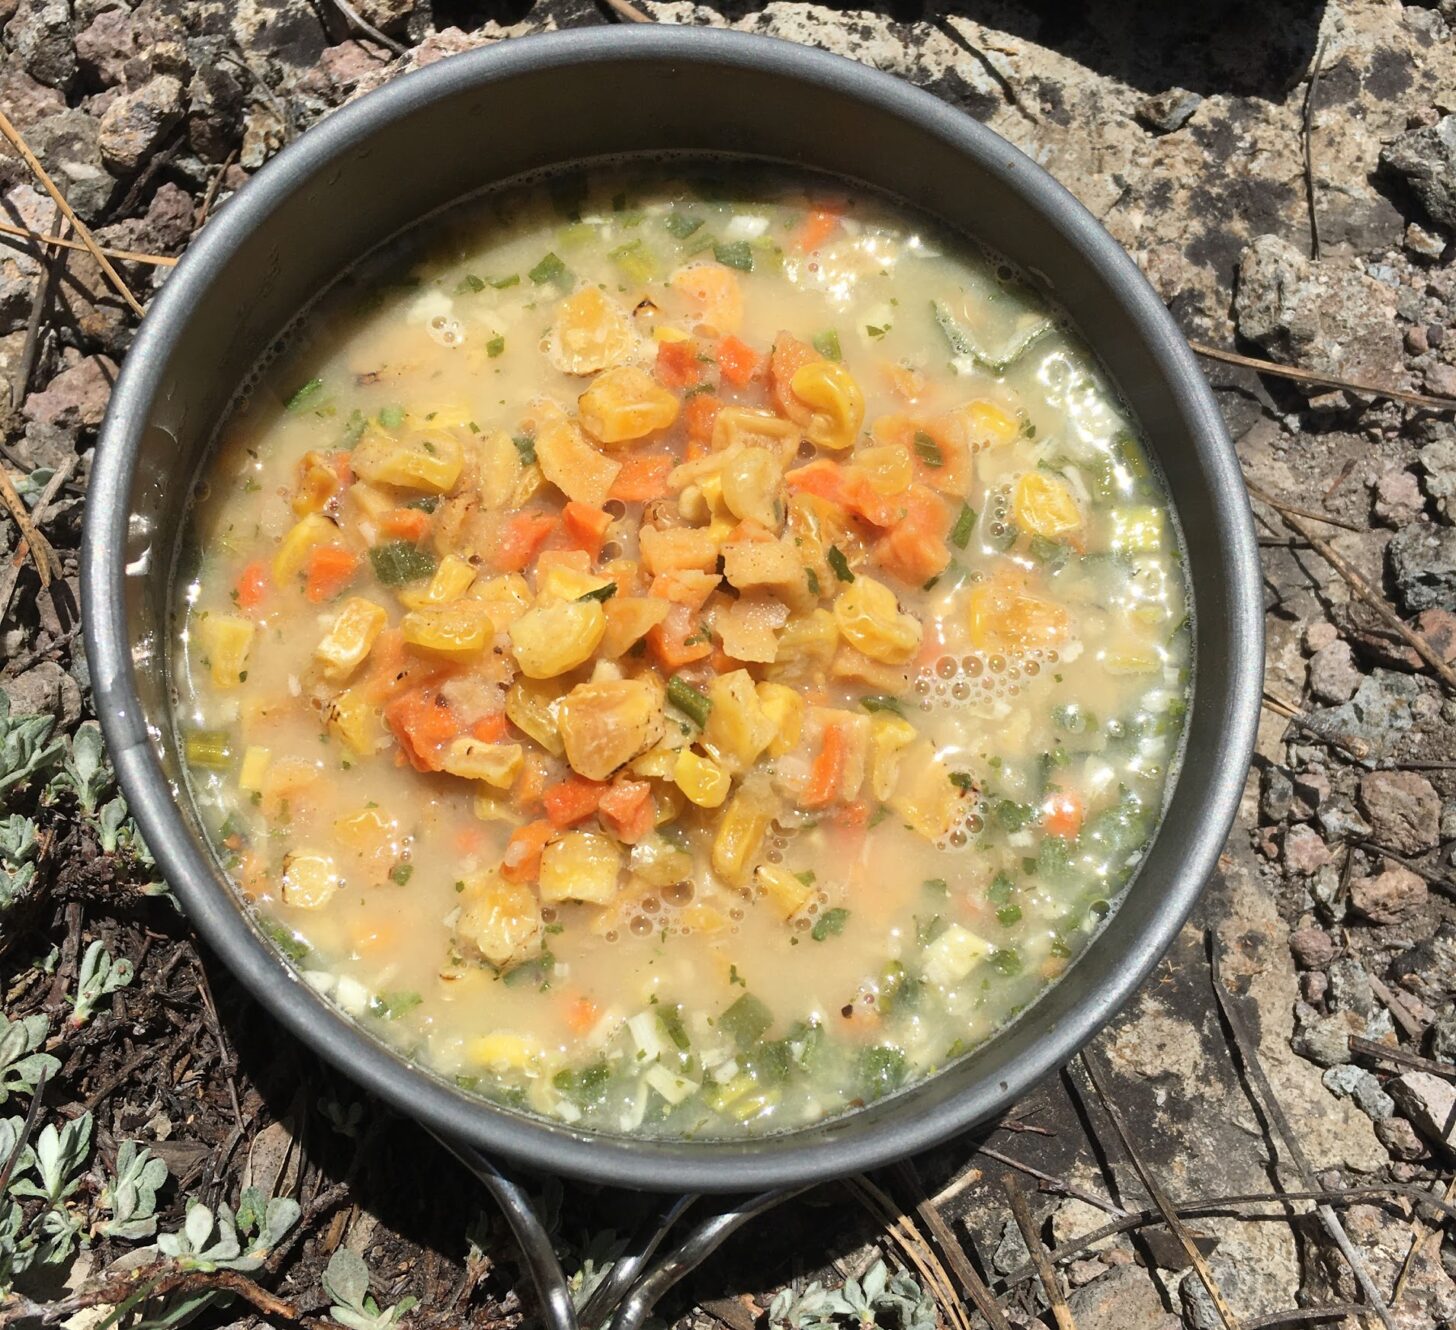
Dehydration is the least cost-intensive way of preparing backpacking meals at home. Some backpackers use kitchen ovens to dehydrate food (an imperfect method) and others purchase inexpensive dehydrators (a much easier and safer approach).
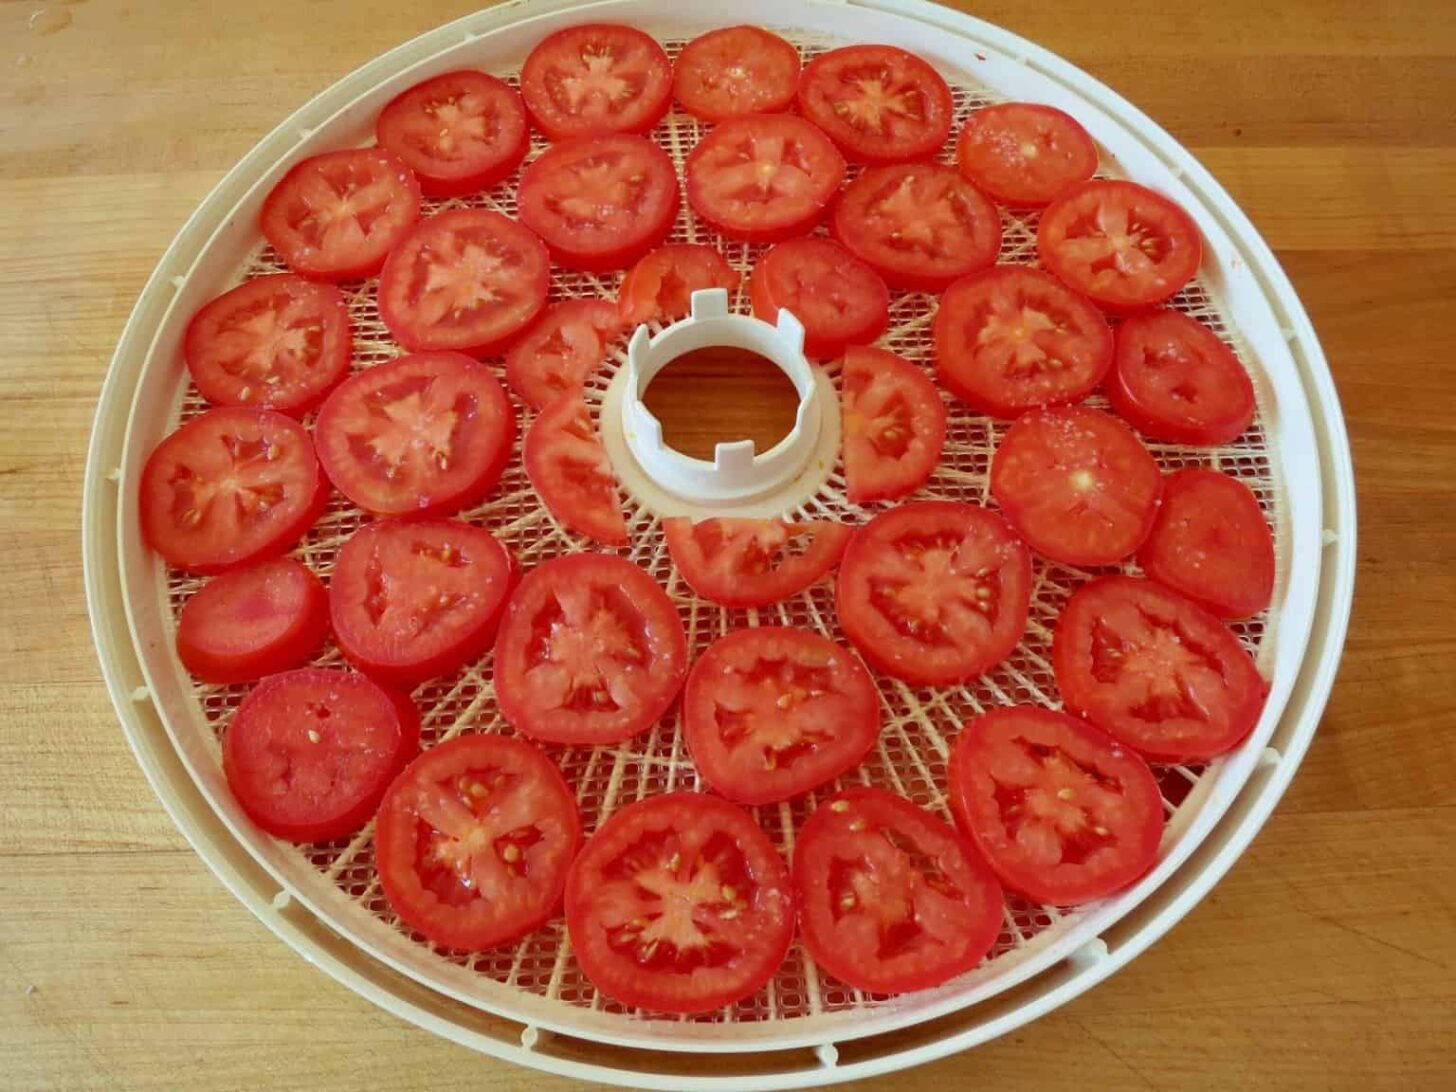
But dehydrated meals can sometimes take a long time to re-constitute, and each food item comes with its own dehydration methods, challenges, and drying times. For this reason, if you are going to prepare backpacking food in a dehydrator at home, you must dehydrate each ingredient individually and then combine the ingredients in your packaging after they are dried.
Drew Smith’s article on food dehydration is a user-friendly and comprehensive entry point into dehydration:
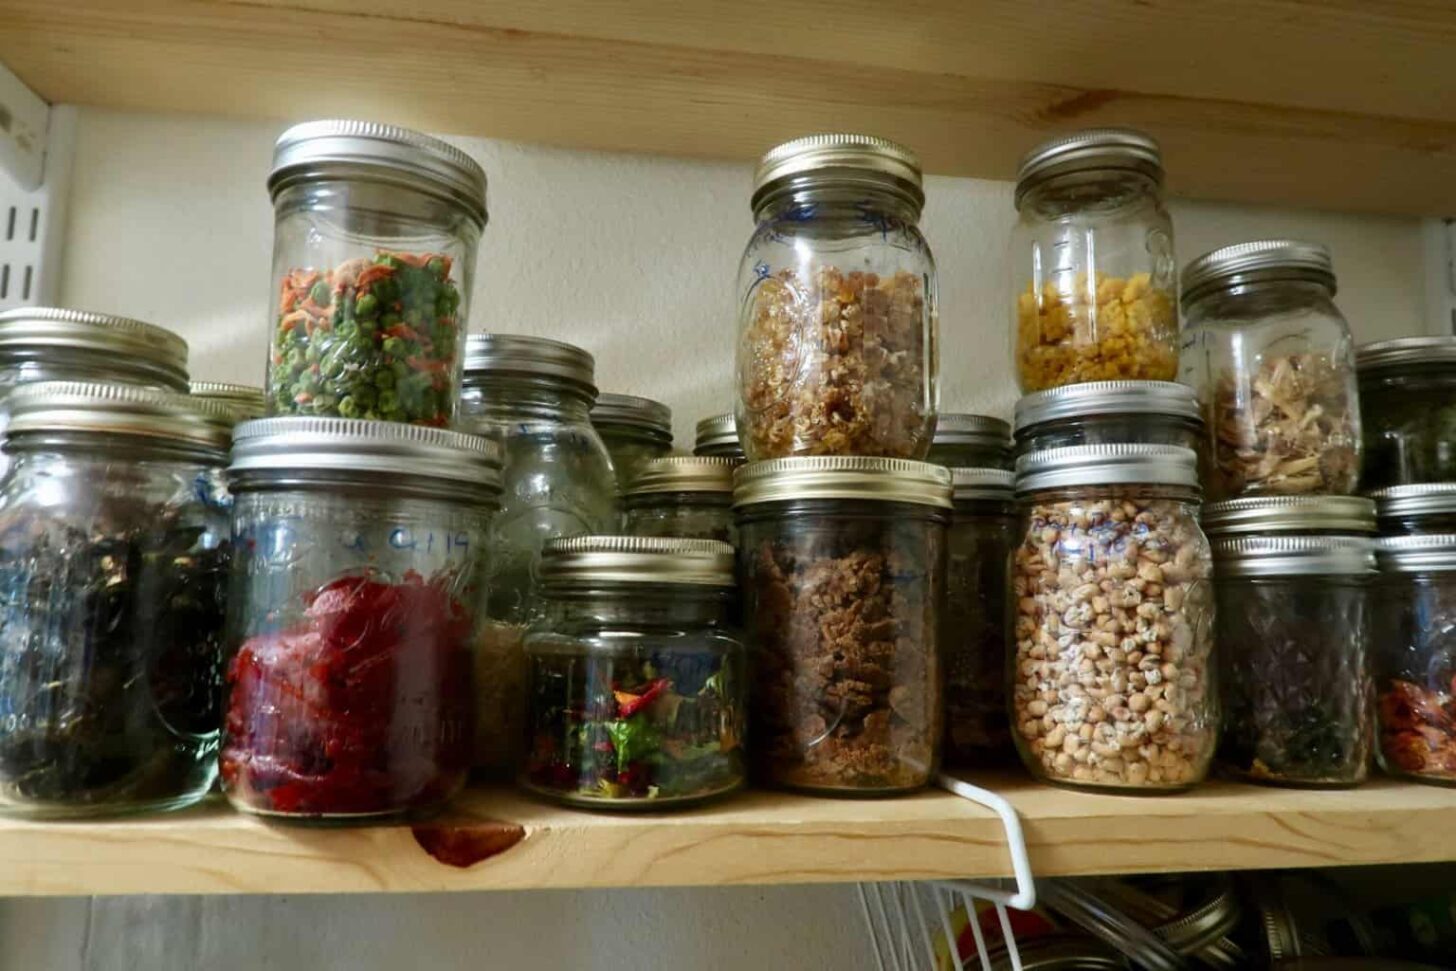
Once you’ve dehydrated your food, storing it properly is important so you don’t end up with rancid or spoiled supplies while in the backcountry. Drew’s article (above) also covers this point.
And don’t miss these other Backpacking Light resources on food dehydration:
- Book Review: Ultralight Recipes for Backcountry Explorers
- Forum: Directions for dehydration
- Forum: Why do you dehydrate?
- Forum: What to dehydrate and why?
- Forum: Nutritional info on dehydrated food
Here’s a trip report that illustrates a food strategy using dehydrated ingredients in action:
How to freeze-dry backpacking food
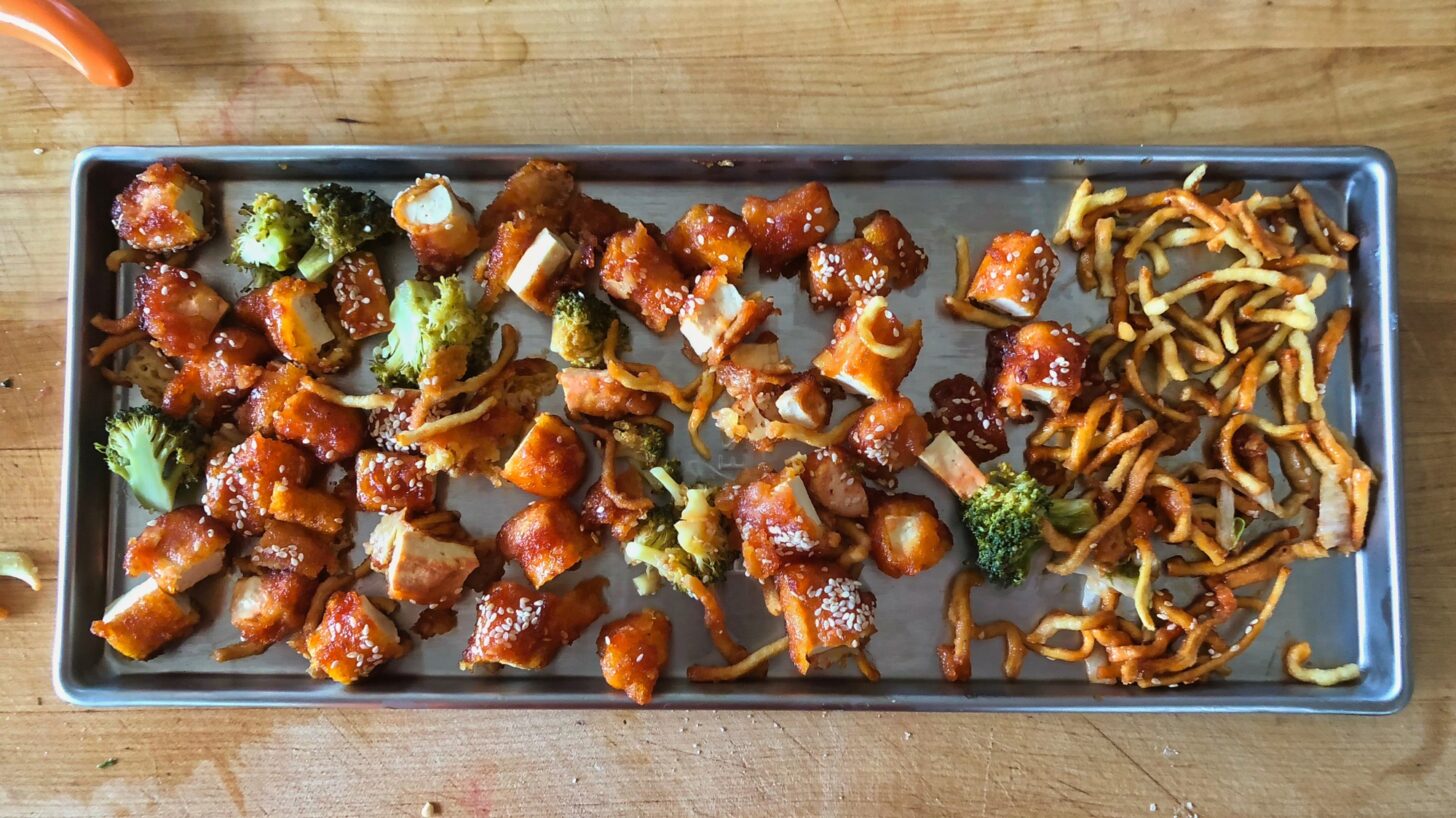
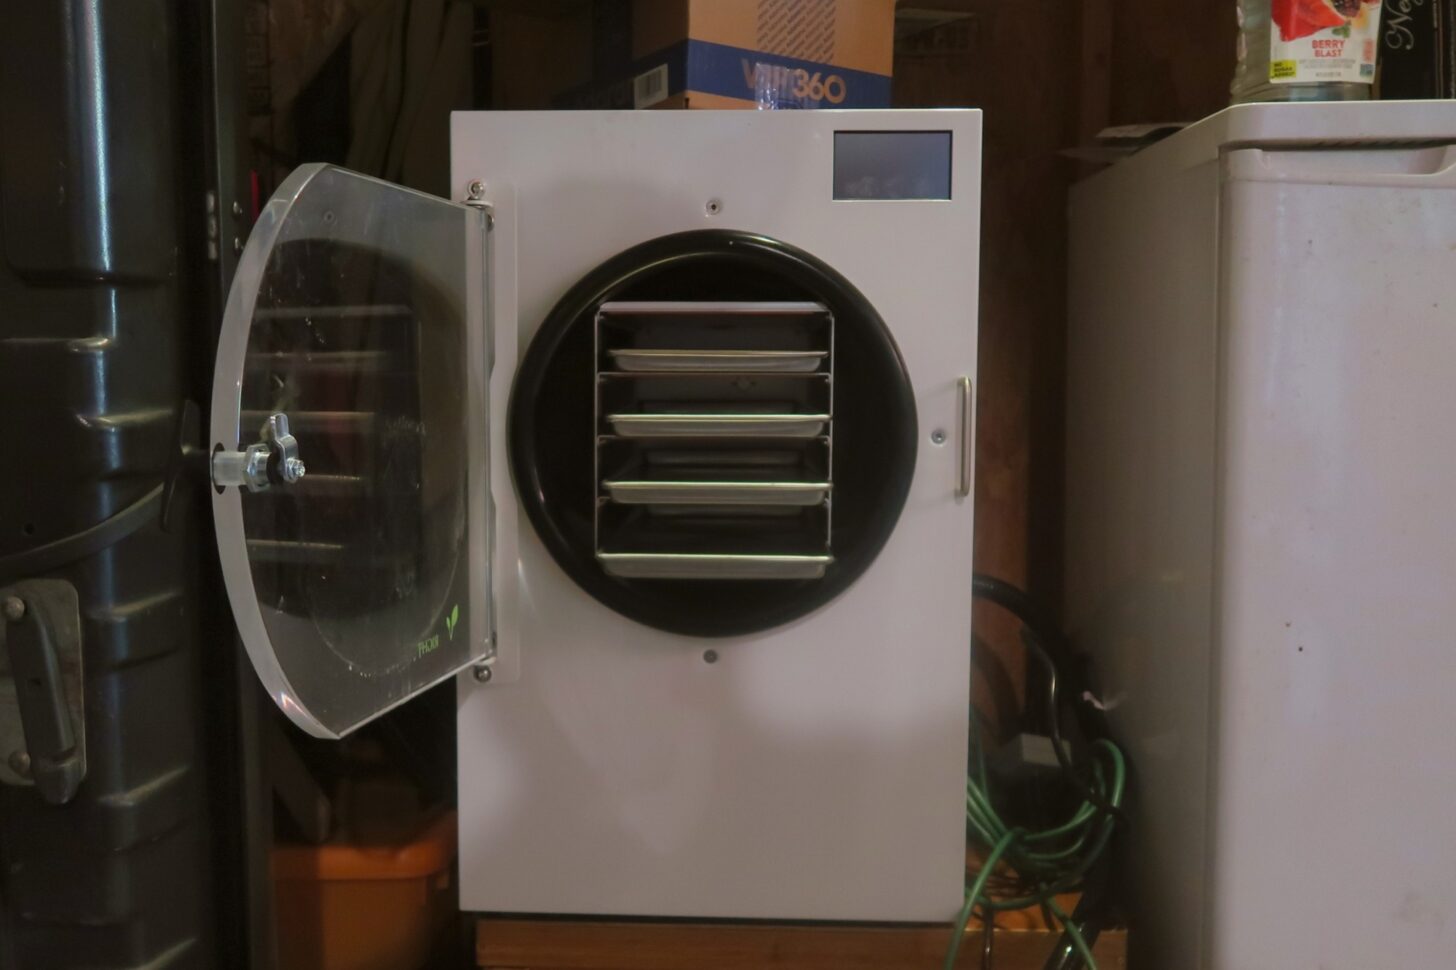
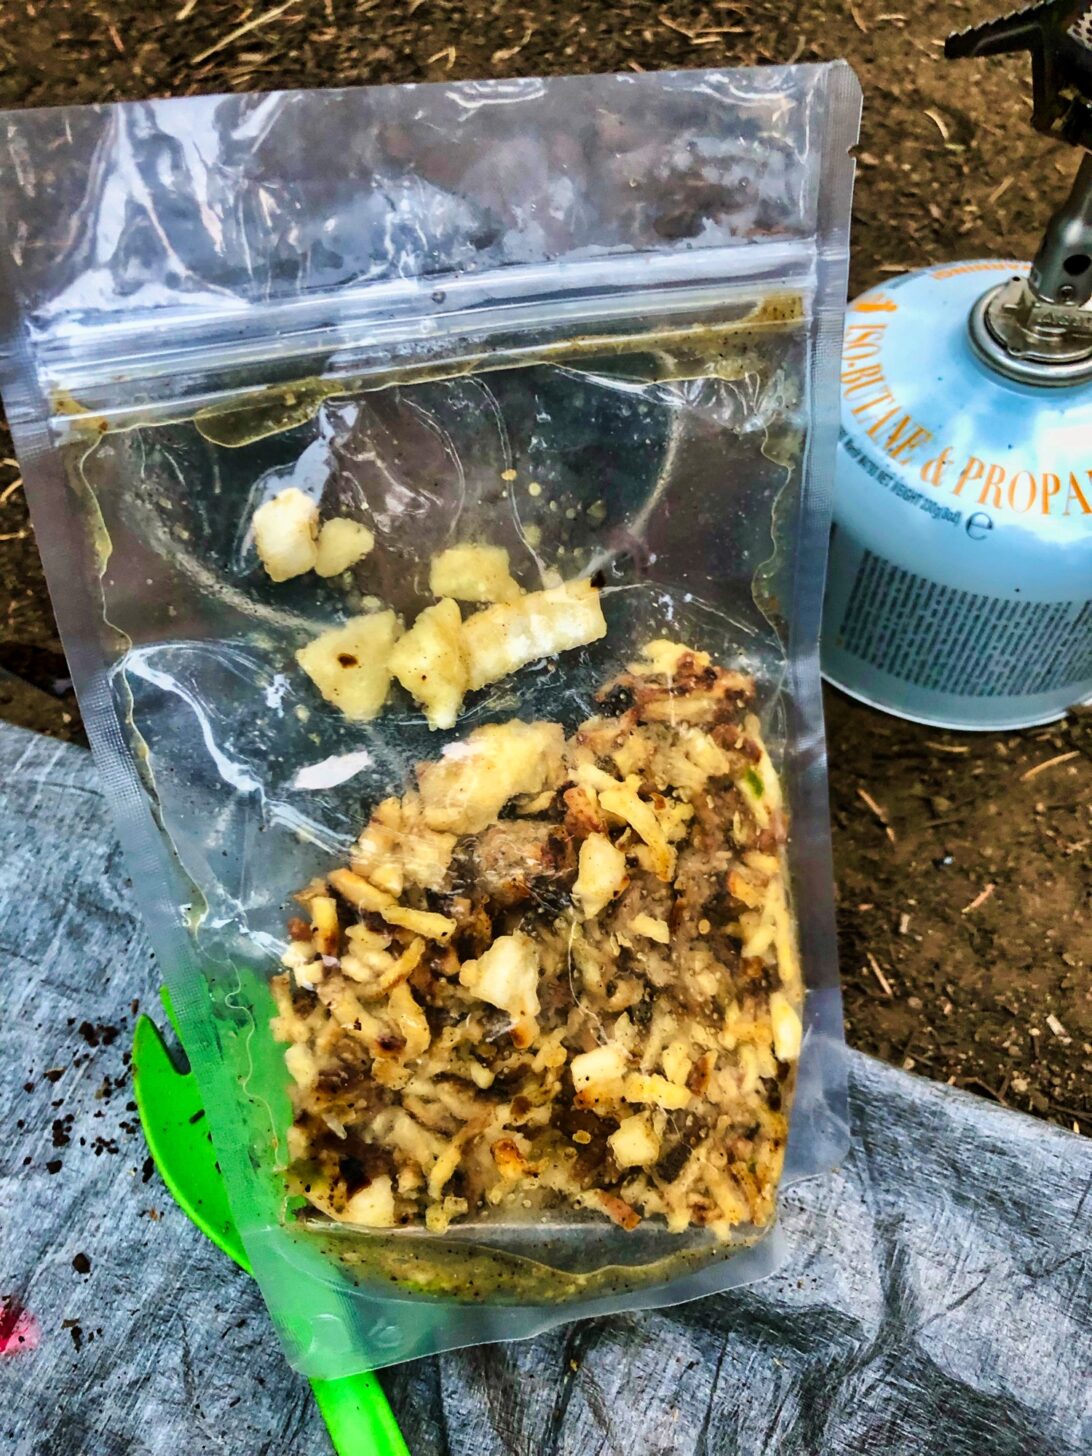
Freeze-drying is an incredibly effective way of preparing backcountry meals. Freeze-dried backpacking food is lighter and reconstitutes better than dehydrated food, and it often preserves flavor and texture better as well. As a bonus, you can prepare freeze-dried meals as meals – in other words, you can cook or buy a meal and freeze-dry it all together rather than by individual ingredients as with dehydration.
The downside to freeze-drying is the gear needed – a freeze-dryer – is prohibitively expensive for the average backpacker. We recommend splitting the cost with one (or more, ideally) friend and then preparing meals together in bulk for your adventures together.
Here’s our review of a freeze-dryer that fits in your garage:
And don’t miss Drew Smith’s ongoing exploration of the Harvest Right Home Freeze Dryer as he explores the science behind freeze-drying and the recipes that are possible with it.
- Skills: Is Buying a Home Freeze-Dryer Worth the Money?
- Skills: Freeze-Drying Your Own Backpacking Meals: How to Eat Your Favorite Town Food on the Trail
- Technology: How Does Freeze-Drying work? (The Physics of Making Freeze-Dried Backpacking Food
- Technology: Why Freeze-Dried Backpacking Food Retains Taste and Nutrition
- Technology: Why is it hard to freeze-dry liquids?
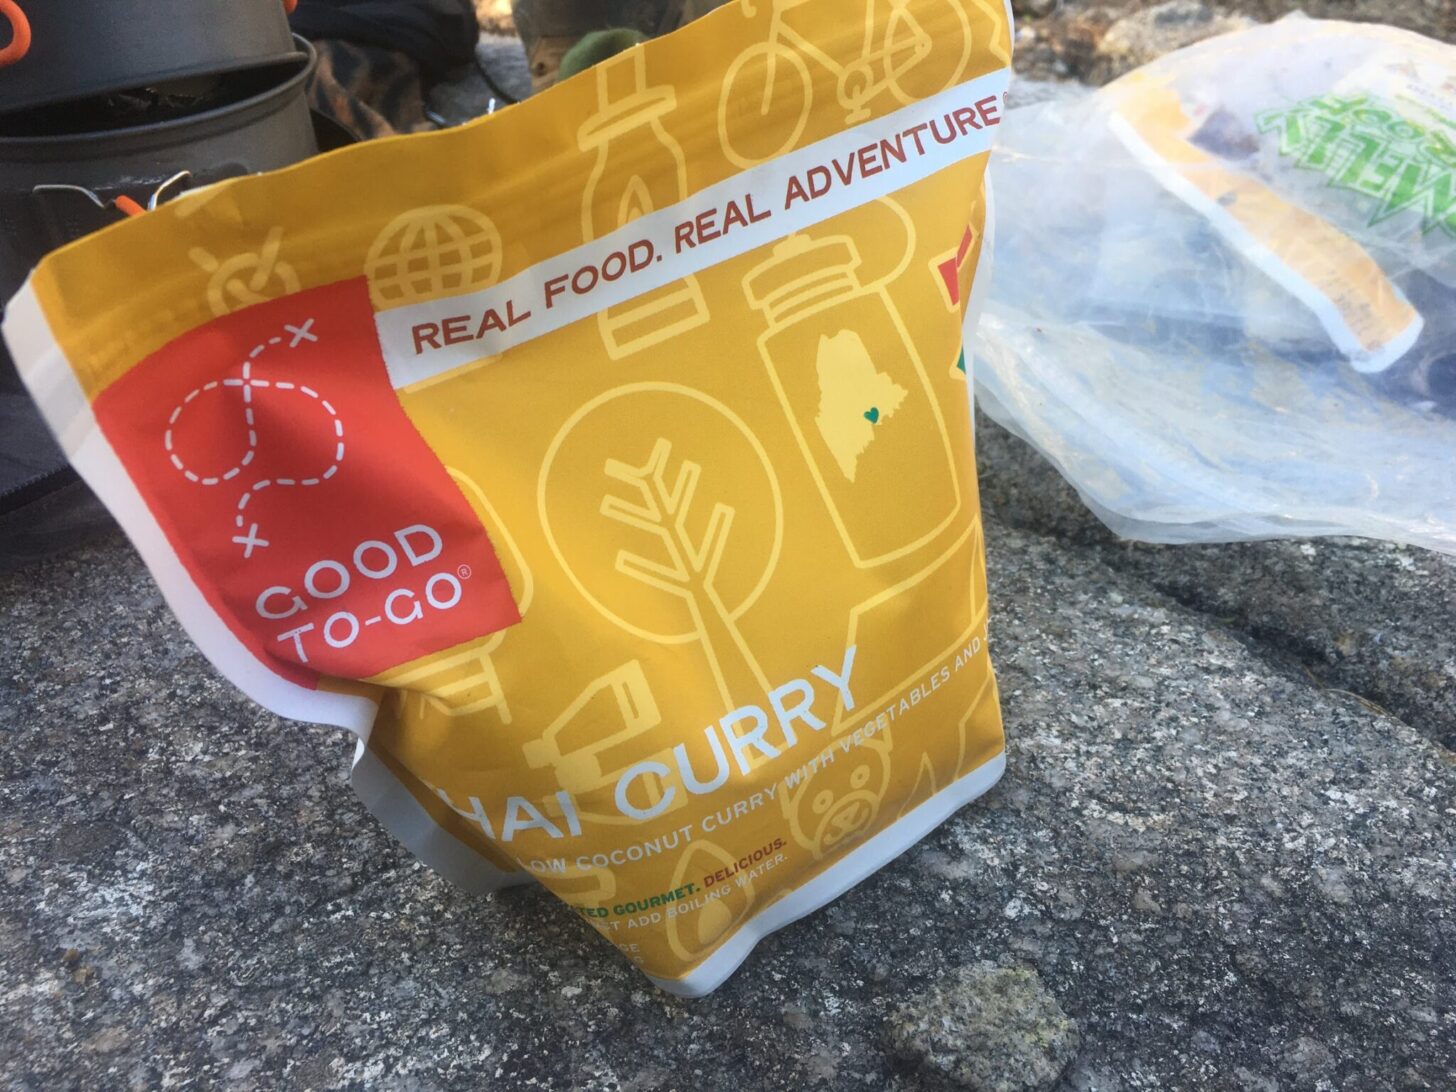
Packaged backpacking meals
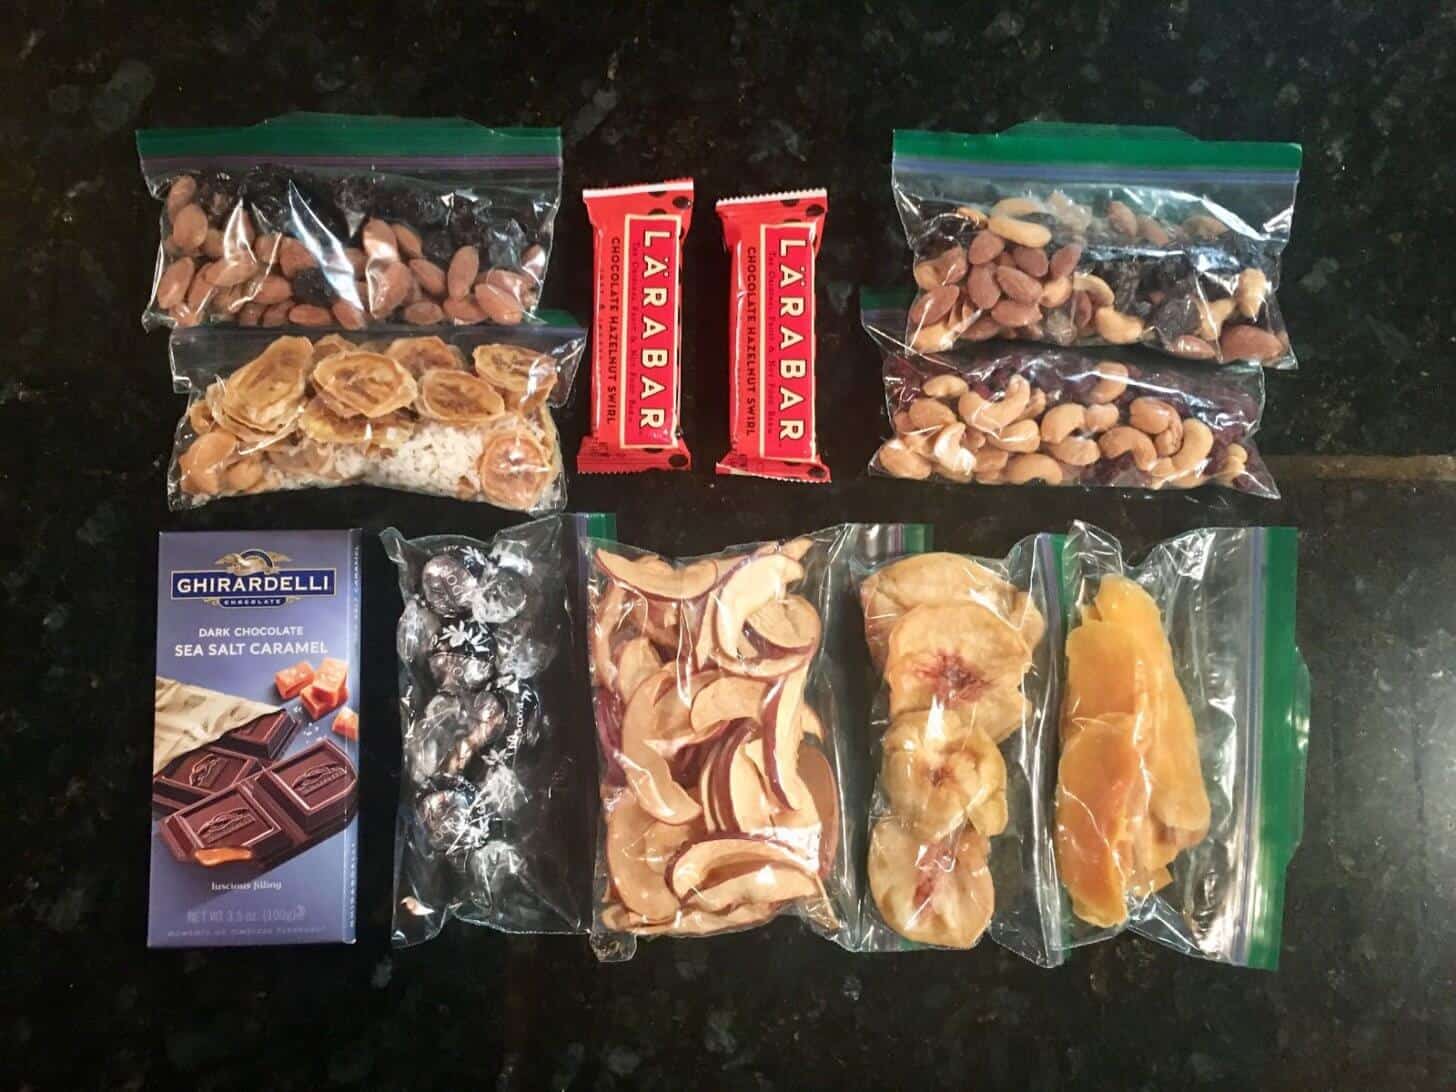
If making your meals isn’t your thing, there is an abundance of freeze-dried and dehydrated backpacking meals to choose from. In the last several years, several new companies have entered this market and provided backpackers with a surprising variety of meals and options for those with dietary restrictions, allergies, or picky palettes. In other words, you don’t just have to stick with Mountain House or Backpacker’s Pantry anymore (though even these meals have improved in the last few years).
These meals can be a bit pricy, especially if you’re eating one or more per day on a weeklong trip. But by mixing them in with homemade meals, you can bring costs to a reasonable level. There’s something to be said for the convenience of buying a packaged meal well in advance of your trip, especially for those short on time and kitchen space.
Backpacking Light has spilled a lot of ink on packaged freeze-dried and dehydrated meals over the years. Explore it here:
- Gear Guide: Dehydrated and Freeze-Dried Backpacking Food: Dinners
- Gear Guide: My Year of Lentils: A Survey of Packaged Vegetarian and Vegan Backpacking Meals
- Video: Good To-Go Herbed Mushroom Risotto Review
- Podcast: Episode 057 | Cottage Industry Interview: Food for the Sole
Several packaged backpacking meals showed up in our 2021 Staff Picks article:
- Gear Guide: 2021 Staff Picks
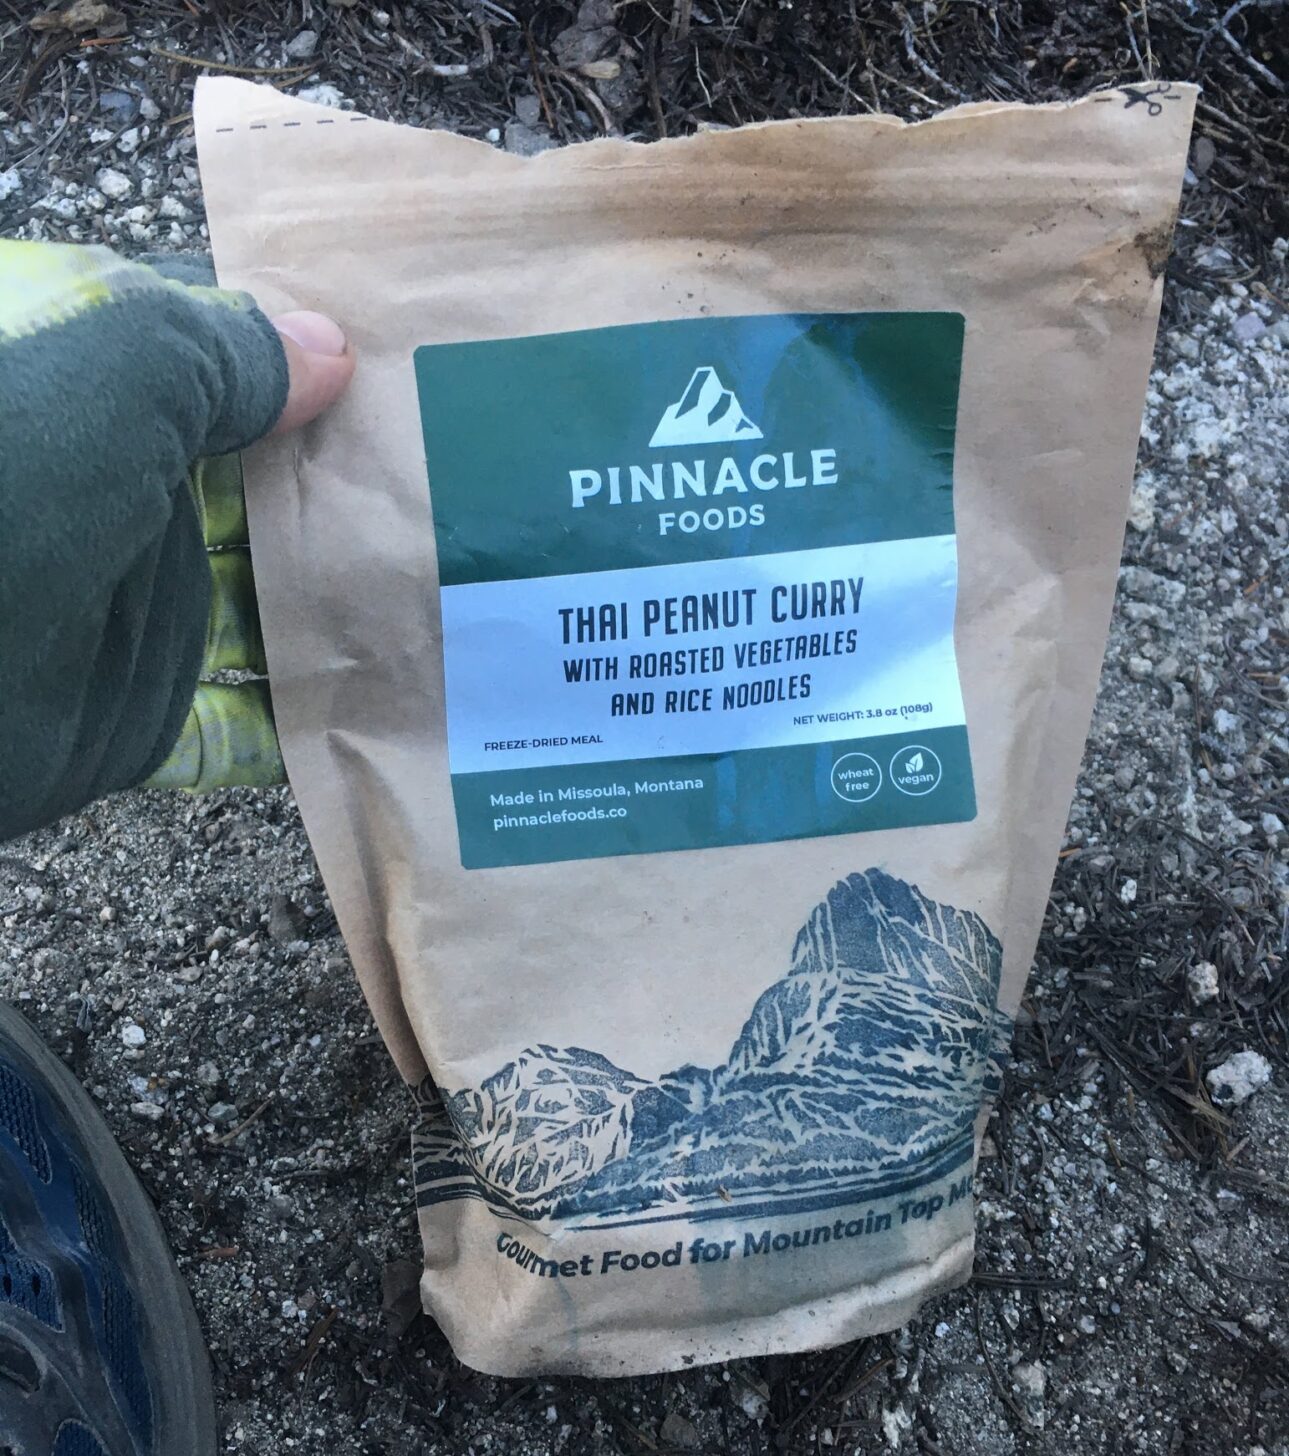
The following article isn’t about food per se, but it does feature three backpacking food makers – Good To-Go, Food for the Sole, and Pinnacle Foods:

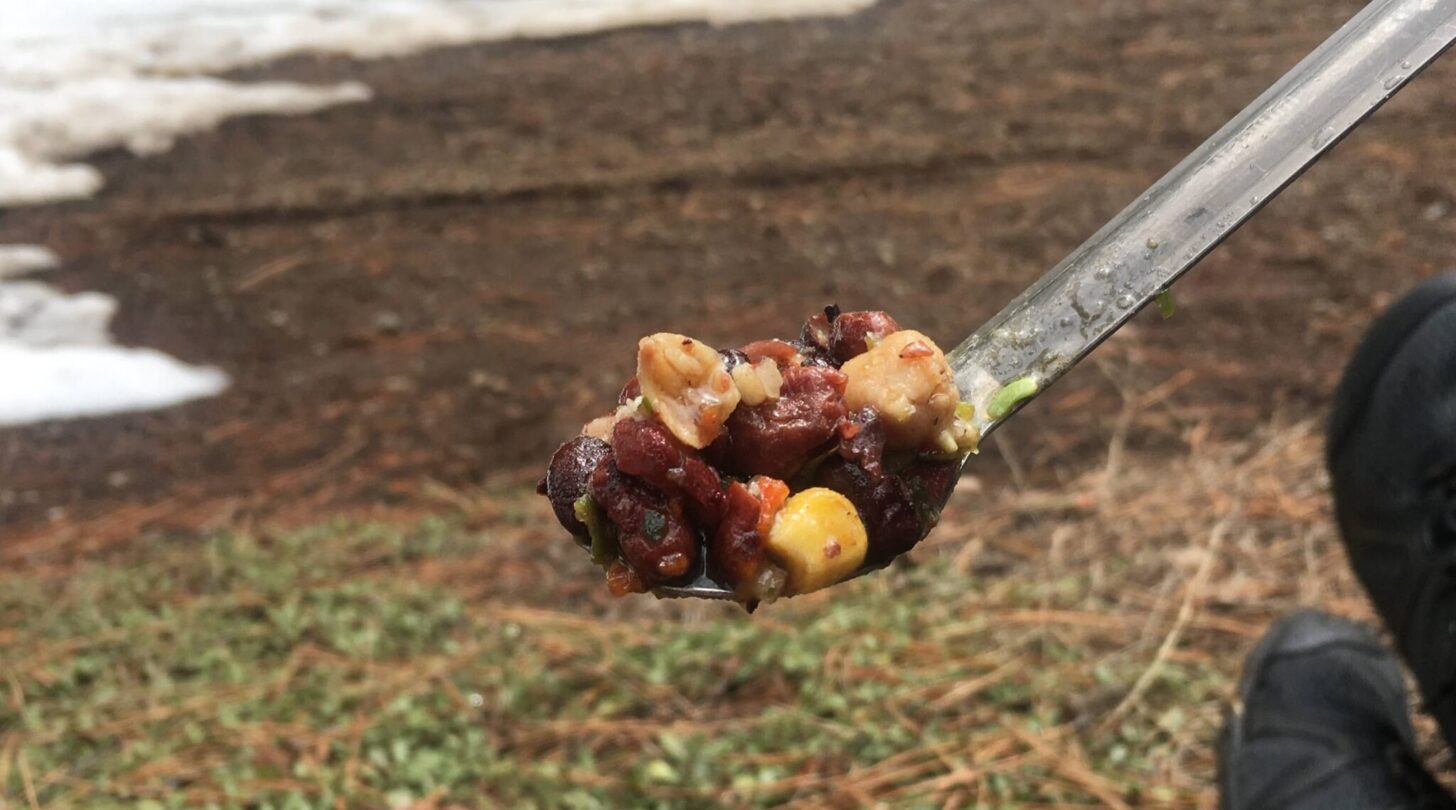
Backpacking food preparation methods: cooking or cold-soaking?
When preparing food in the backcountry, the options are cooking or cold-soaking. Both have tradeoffs, with cold-soaking being the lightest and arguably the most simple option. But the comfort of a hot cup of coffee or a warm meal at the end of the day can have psychological benefits for some hikers. Many backpackers prefer this comfort over shaving a few ounces off a base weight.
What is cold-soaking?
Cold soaking is exactly like what it sounds like – put dried ingredients into a container and add cold water to rehydrate the contents. Rehydrating takes significantly longer than using hot or boiling water, and there are some limitations on what ingredients rehydrate best using this method. But for a lightweight and simple approach to preparing meals, it’s hard to beat cold-soaking.
Here are some cold-soaking tips from our community:
- Forum: Cold soaking food help/suggestions
- Forum: Cold soaking containers
- Forum: No-cook/stoveless/soaking method for PCT thru-hiking
- Forum: Cold soak system review
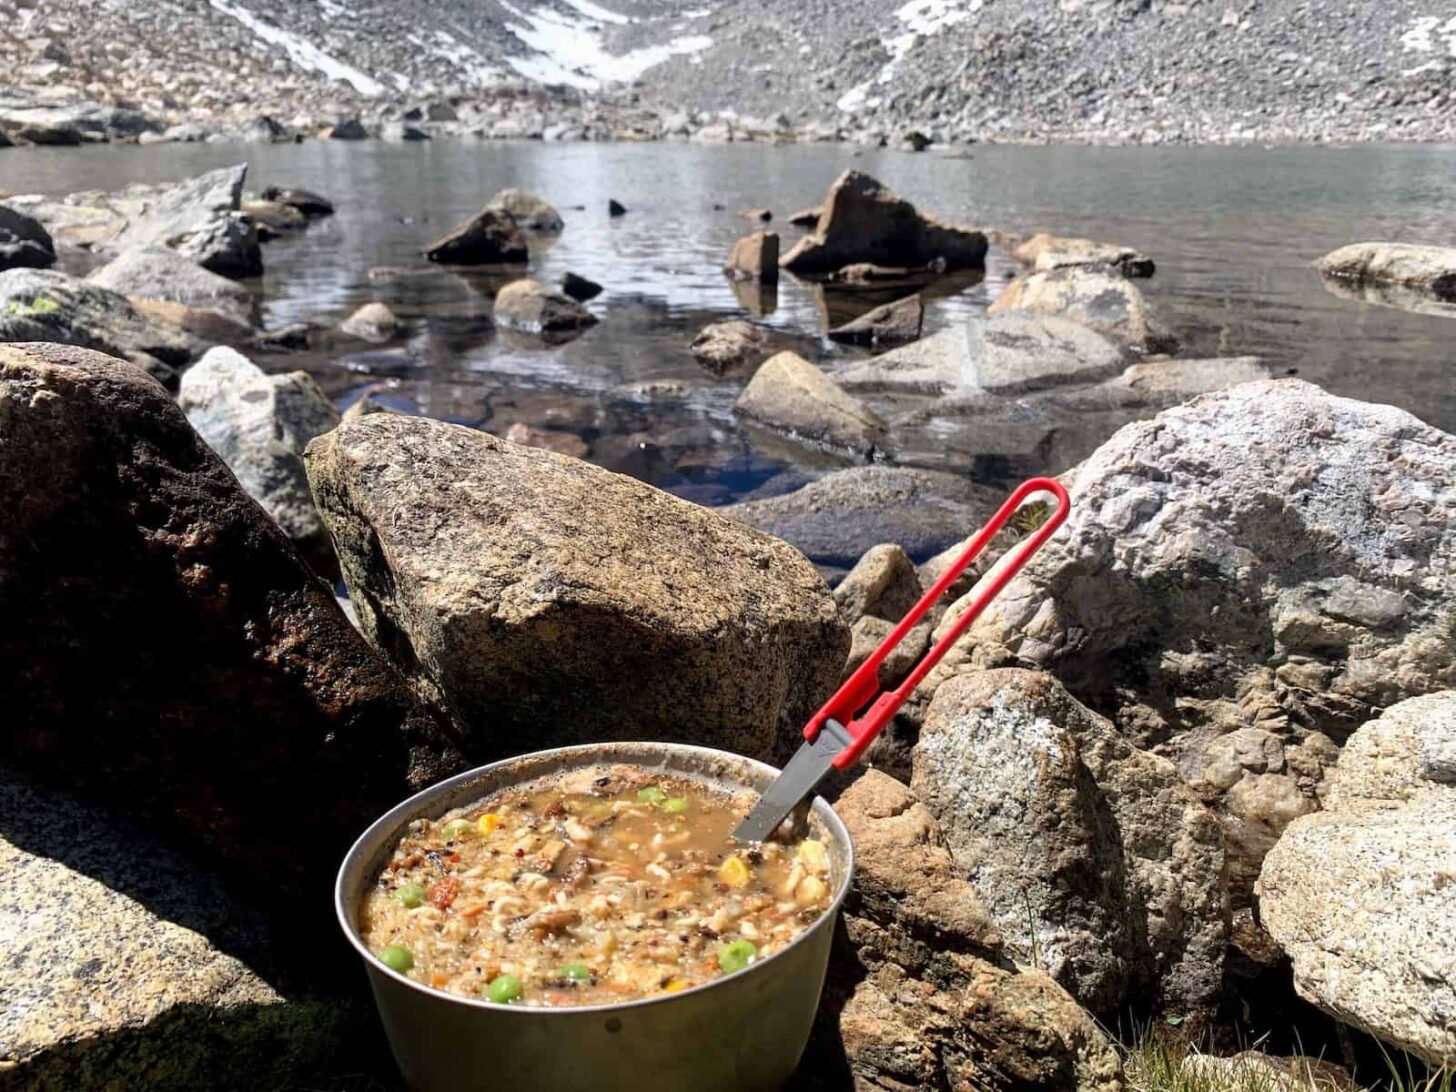
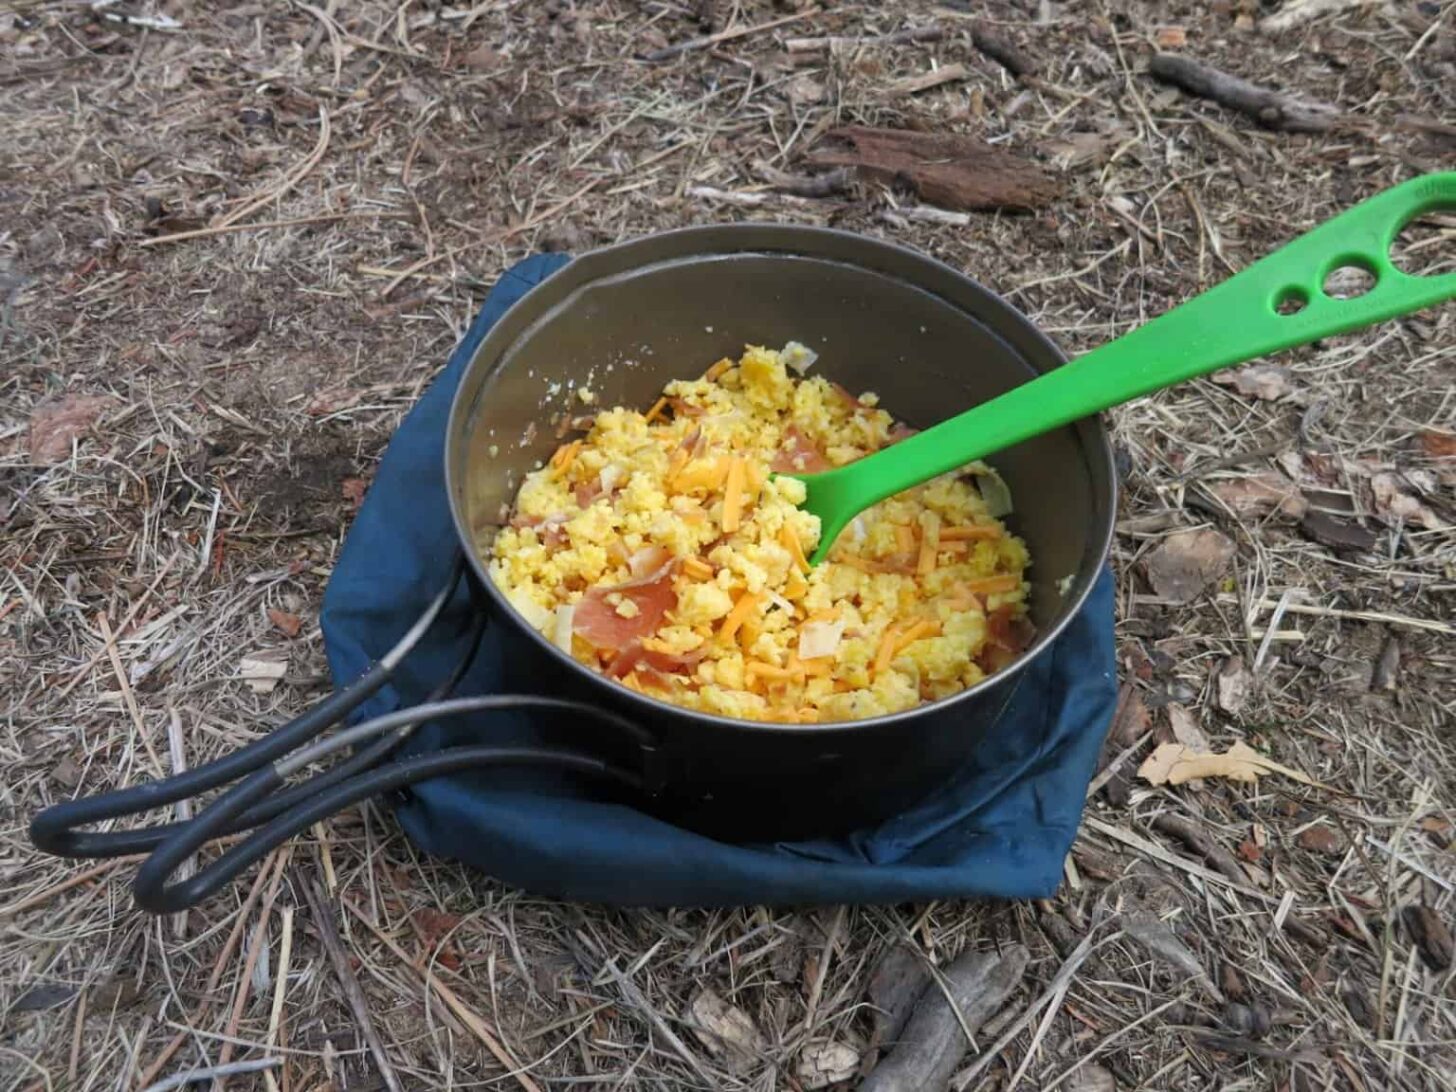
Cooking backpacking food in the backcountry
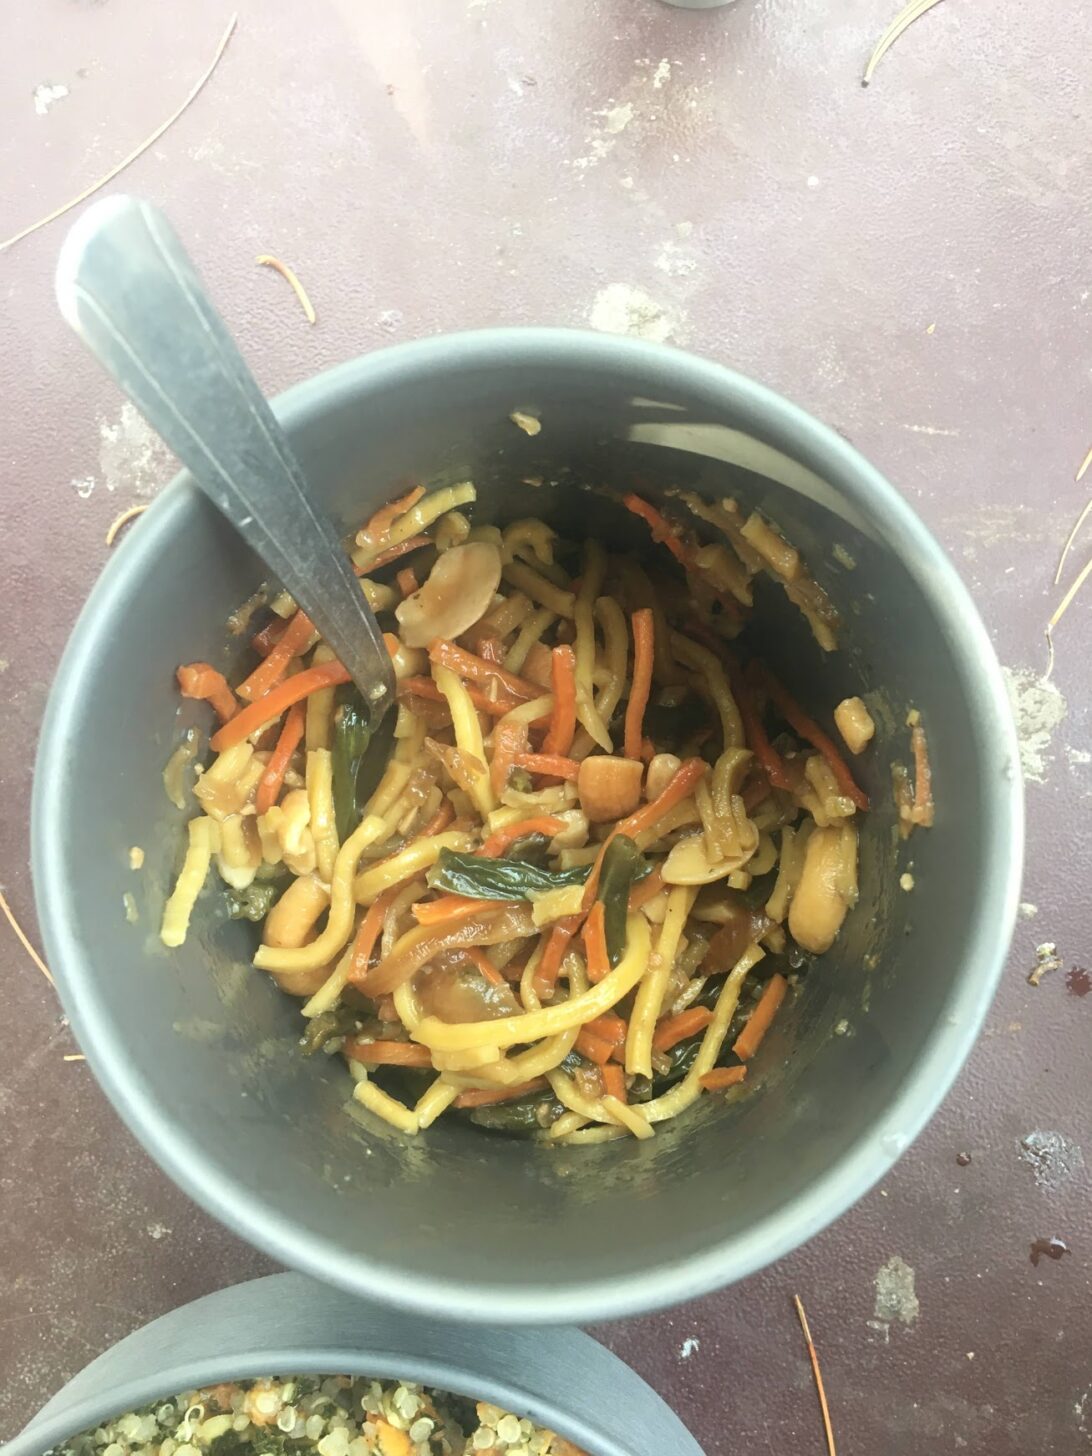
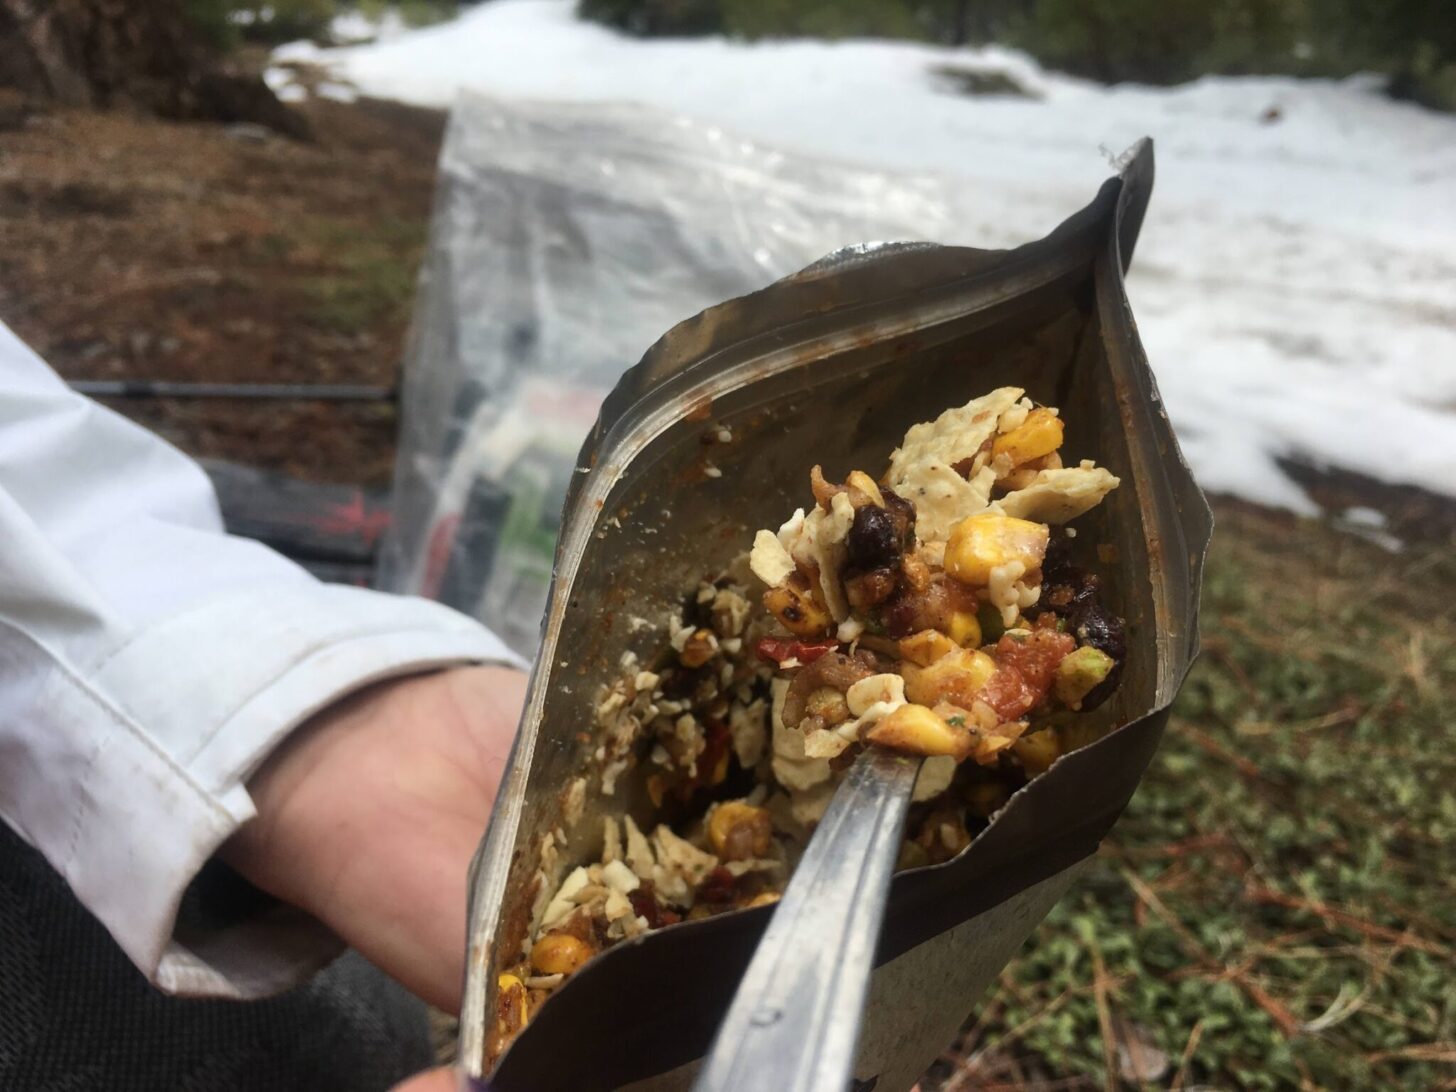
While cold-soaking has become more common in recent years, particularly among thru-hikers, most backpackers still opt to cook their meals in the backcountry. The most common cooking method is to bring water to a boil using a stove before pouring the water into a bag containing a dehydrated or freeze-dried backpacking meal.
Cooking in this style often eliminates the need to do dishes. But some meals do involve putting ingredients into your pot at some stage of the cooking process, which, unfortunately, means doing dishes – unless you don’t mind having tuna-flavored coffee with bits of pasta the next morning. Details on the gear needed for cooking are covered later in this trailhead.
- Skills: Lightweight Mealtime Routines for Group Cooking
- Skills: Backcountry Cookfires: Overview and Techniques for Cooking Over an Open Flame
- Skills: Reducing Winter Pack Weight: Wood Fire Cooking in the Snow
- MYOG: Supporting a Pot Over a Can-style Alcohol Stove
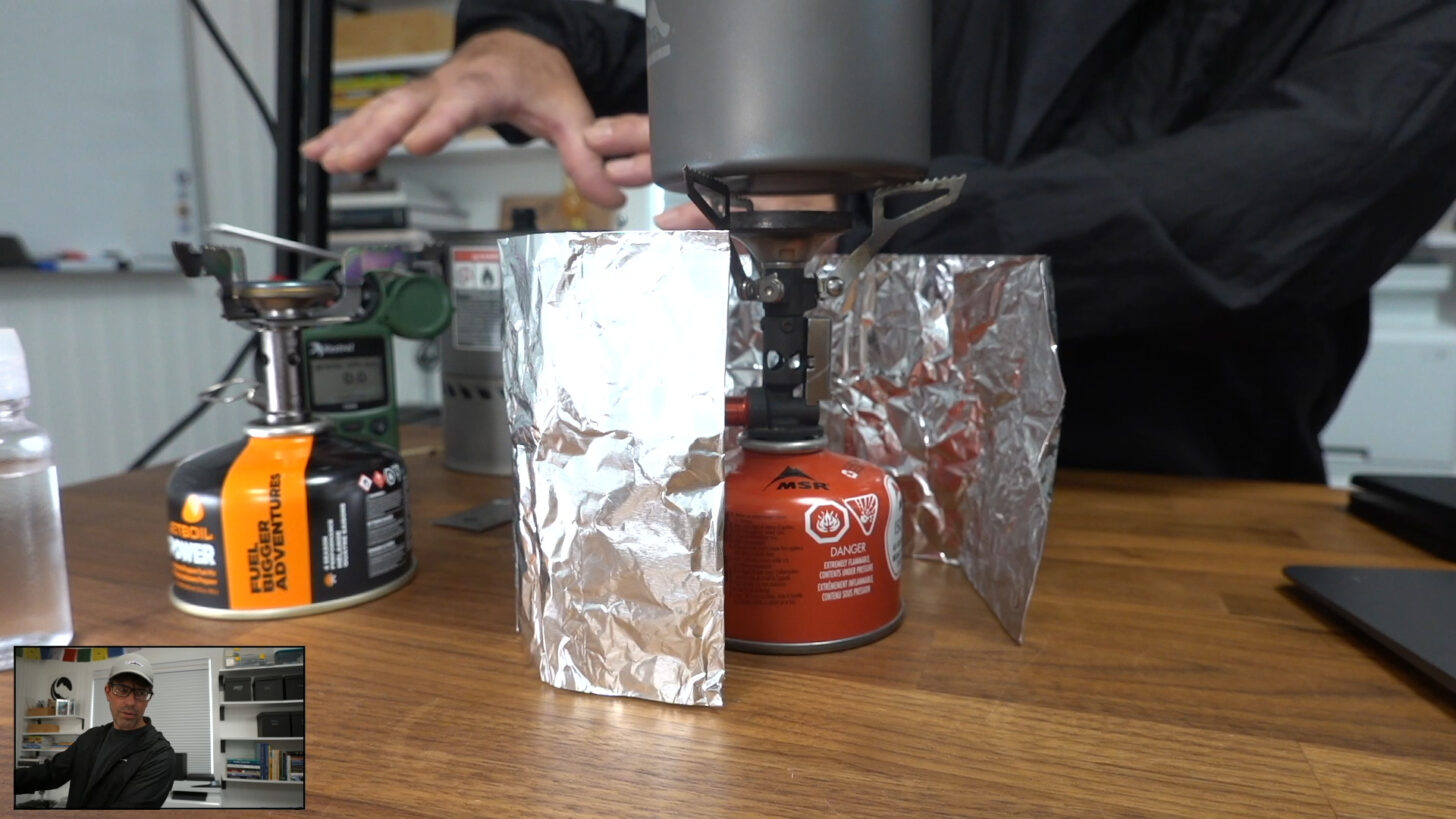
What are the different types of backpacking stoves?
If you’re not cold soaking, then you’re going to need a stove to boil water for your meals. There are many different types of stoves to choose from, but upright canister stoves, integrated canister stoves, remote inverted canister stoves, alcohol stoves, or wood-burning stoves are the most common for lightweight backpacking. We could probably do a whole trailhead just on stoves alone, so some of this information will be abbreviated out of necessity.
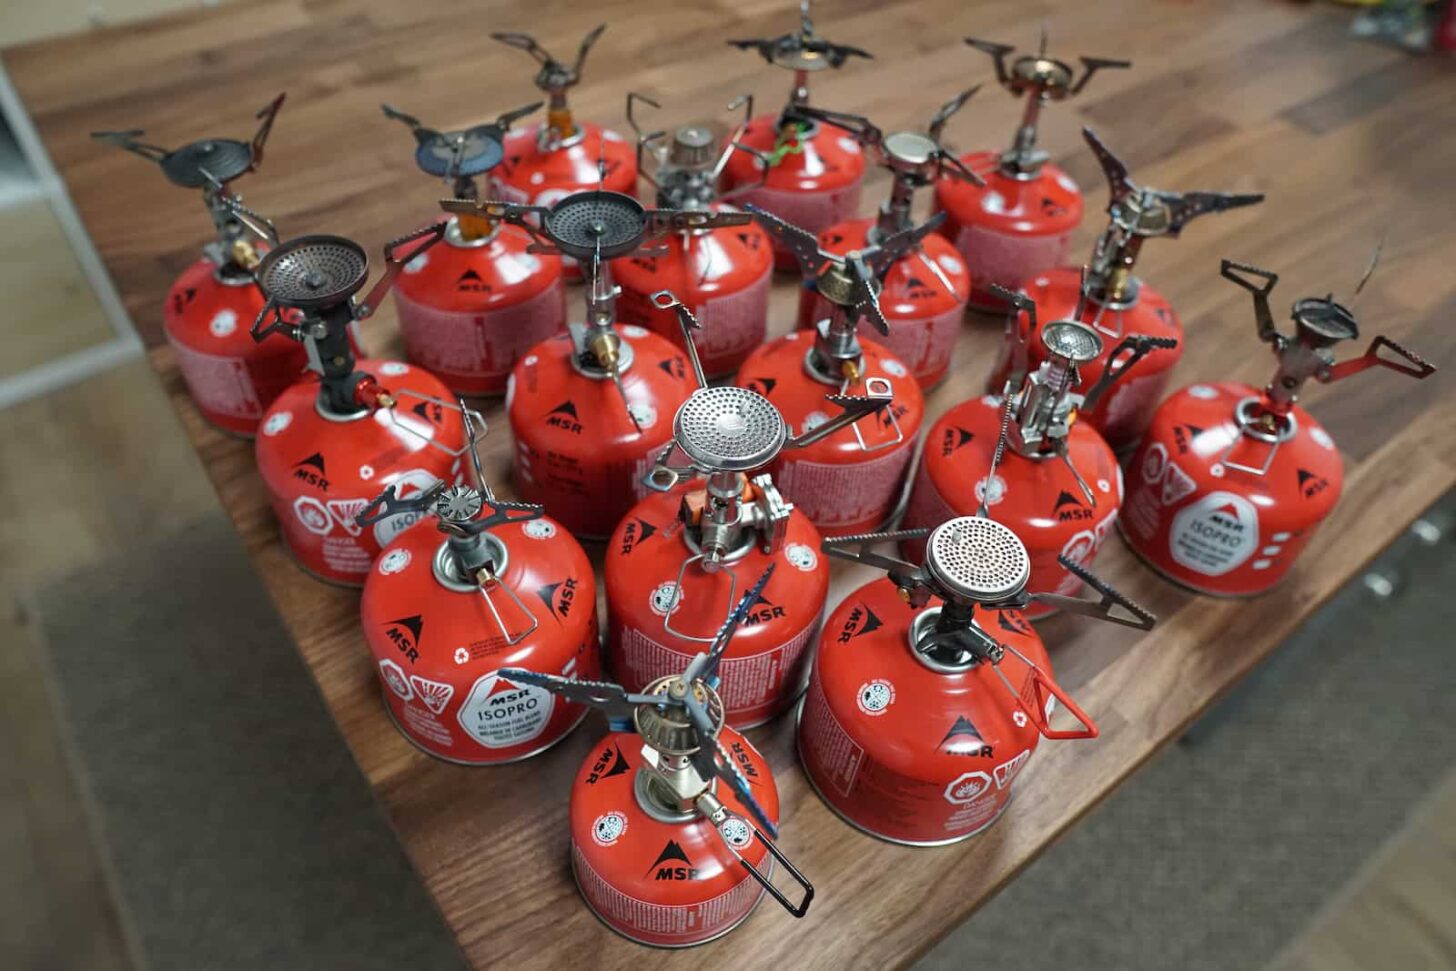
What is a canister stove?
Upright canister stoves, integrated canister stoves, and remote canister stoves all use a fuel canister (usually but not always a blend of isobutane and propane). With a remote inverted canister stove, the pot and stove assembly are separate elements. The stove assembly screws into the fuel canister, and the post sits on top of the stove assembly.
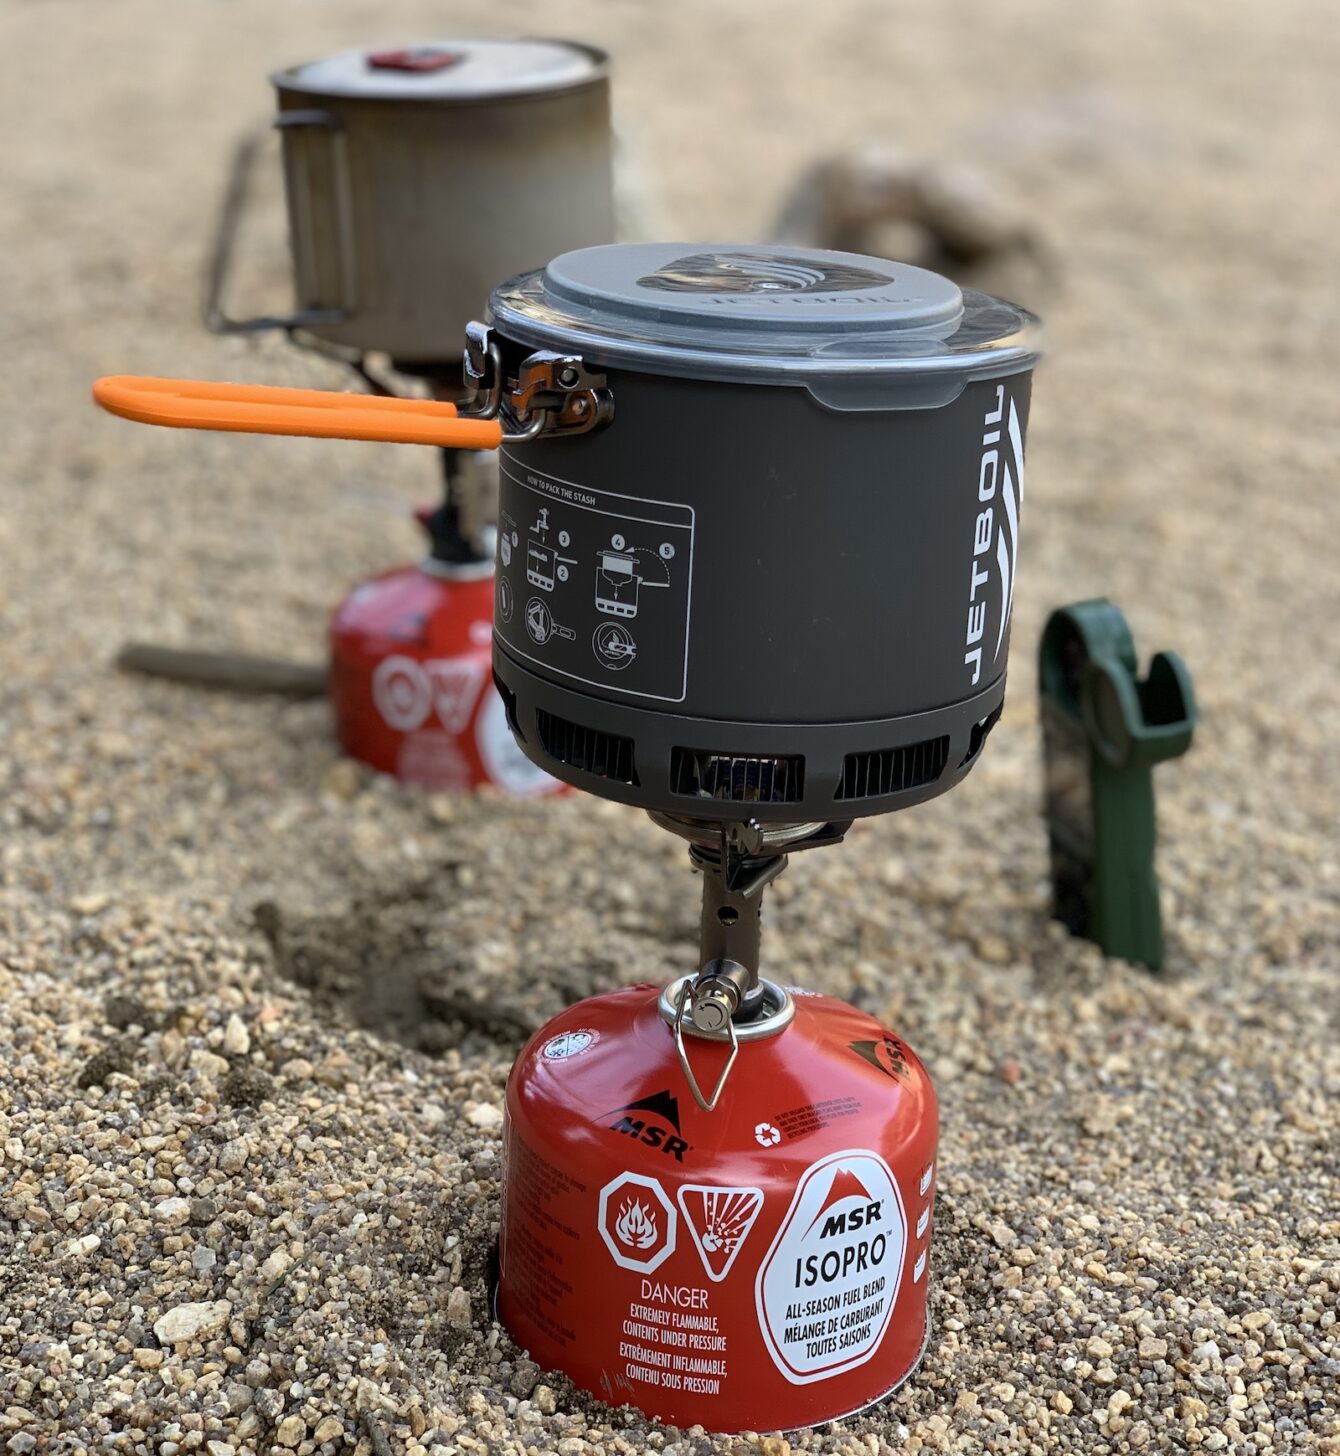
An integrated canister stove uses a pot that is combined with the stove elements for greater wind protection and heat transfer. The downside is these types of stoves are usually heavier than the pot/stove combo used by upright canister stoves.
With a remote canister stove, the stove assembly is connected to the fuel canister via a fuel line. The upside to this system is that the fuel canister can be turned upside down to burn liquid fuel instead of gas – an advantage in cold conditions.

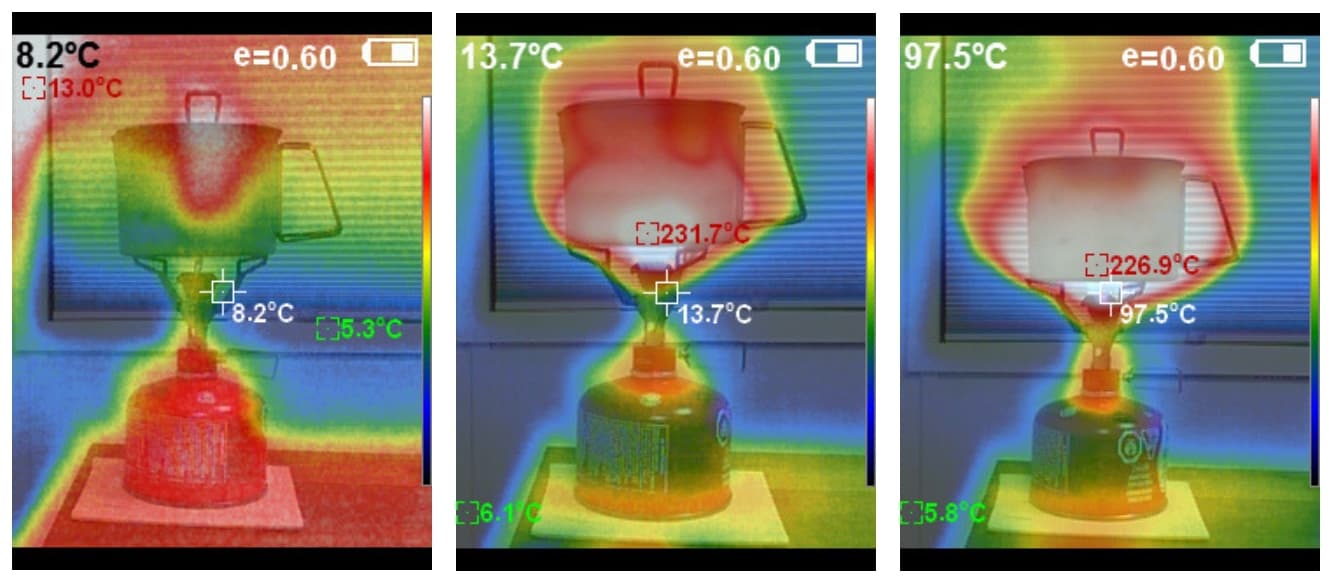
Our StoveBench protocol and gear guide combine to form a comprehensive body of work on modern upright canister stoves. It’s a go-to resource for anyone in the market for a new upright canister stove:
- Testing: StoveBench: A Stove Testing Protocol for Comparing the Performance of Backpacking Stoves
- Gear Guide: Upright Canister Stove Reviews, StoveBench Tests, and Gear Guide
- Podcast: Episode 011 | Canister Stove Reviews
And don’t miss Roger Caffin’s long-running series on the development of his remote inverted canister stove. These articles have taken different forms over the years, but all are instructive:

And finally, check out this article where Ryan Jordan applies the StoveBench protocol to the Jetboil Stash, a recently released integrated canister stove.
What are some other types of backpacking stoves?
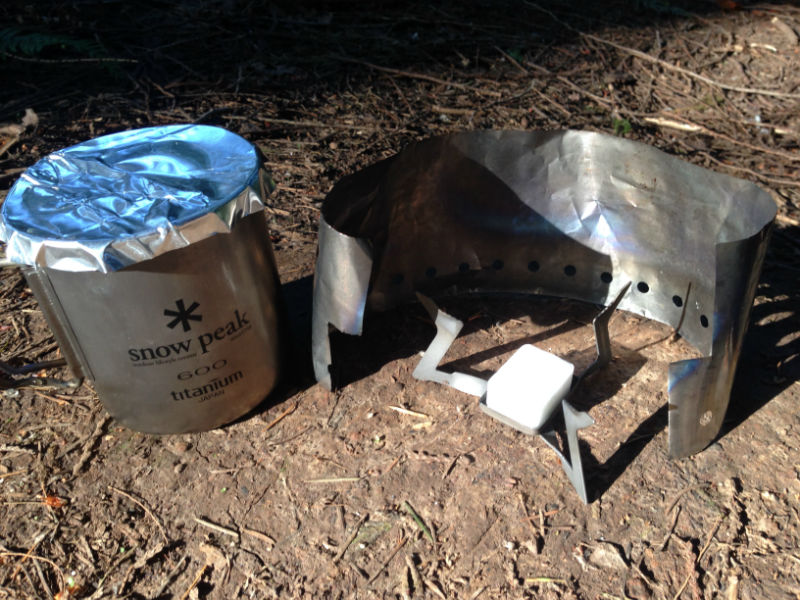
Alcohol stoves use denatured alcohol as a fuel source. They tend to be very light, and the fuel is readily available in places that may not sell fuel canisters. But they are not allowed in some land management units because they are hard to put out once lit, and can be a hazard if knocked over.
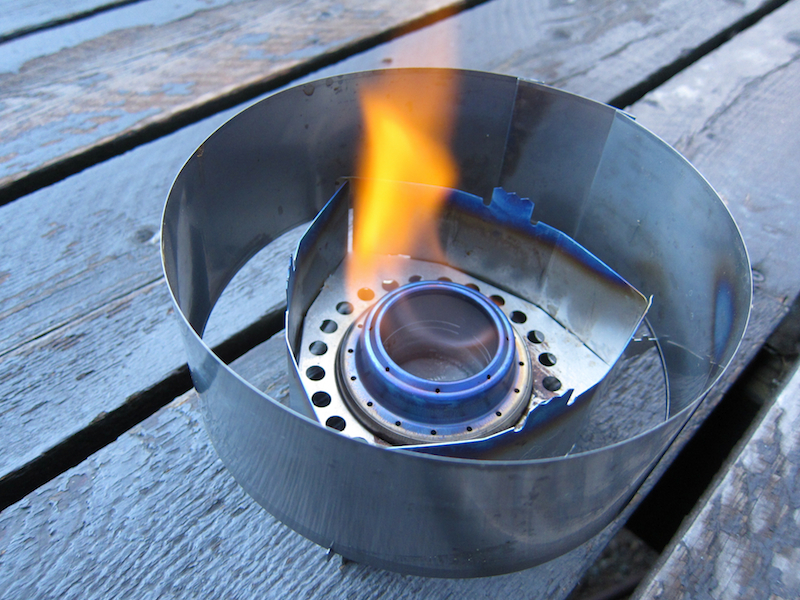
They also have less focused flames than canister stoves, so they can take longer to boil water. They can also be subject to performance degradation in windy conditions. Still, they have their proponents, and for good reason. They are light, simple, burn cleanly with little-to-no odor, and are easily created/modified by MYOG enthusiasts.
Solid fuel stoves burn chemical tablets as a fuel source. They are extremely light, as is the fuel, but they can make a strong chemical smell and are highly susceptible to performance loss from wind.
Wood stoves are just what they sound like – small stoves that burn wood as a fuel source.
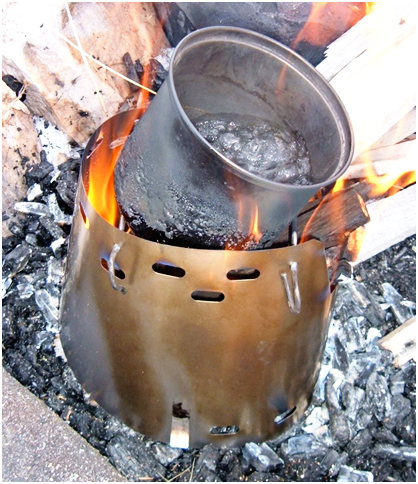
Explore some Backpacking Light content on alcohol stoves and wood stoves here:
- Gear Review: Alcohol Stove Comparison: Trail Designs (12-10 and Kojin) vs. Zelph (Starlyte and Starlyte Mod)
- Gear Review: Clikstand T-2 Alcohol Stove System
- Skills: Still my favorite cook kit
- Forum: Alcohol stove newbie
- Forum: Alcohol stoves: DIY vs pre-fabricated
- MYOG: How to make a lightweight fuel bottle for alcohol stoves
- Forum: Inexpensive wood stoves
- Video: Field Notes: Winter Backpacking in Southeast Wyoming Using a Wood Stove
Should I use a windscreen?
Backpacking stoves of all types are impacted to some degree by wind. Listen to this podcast to learn why, and what you can do about it.
What backpacking pot should I use?
Even if you’re cold soaking and don’t need to bring along a stove, you’ll still need a container to rehydrate your meal. Repurposed food containers – such as those which originally held gelato or peanut butter – are the most common option. Some backpackers use mylar food bags or the bags the cold soak meals were originally sold in.
Simple titanium pots are the lightest option for cooking and last for decades. If your cooking involves more complex meals cooked in the pot, then products with some type of non-stick coating will make post-dinner clean-up much easier.
Pots come in all shapes and sizes, and some have added technology like heat exchangers. baffles, or lids that screw down. What pot you choose is dependent on your favored cooking method, the amount of food you cook or water you boil, and the weight/space needs of your packing system.
- Testing: Is a heat exchanger pot worth the weight?
- Gear Review: Vargo Bot 700 Review (First Looks)
- Gear Review: MSR Titan Kettle SPOTLITE REVIEW
- Gear Review: Spotlight: ALOCS Kettle
- Forum: 2L pot vs. 1L pot
What type of utensils do I need on a backpacking trip?
For most backpackers, a basic spork – of titanium or heavy-duty plastic – is all that is needed to eat in the backcountry. In a hobby focused on minimalism and efficiency, bringing along a fork and a spoon just doesn’t make much sense. For those who typically eat out of freeze-dried backpacking meal packages, there are longer-handled spoons to make reaching the bottom of the bag an easier task.
Some backpackers prefer to bring along (or carve while on a trip) wooden chopsticks instead.
- Gear Review: Tritensil Review (gear review)
- Humor: Top 10 Reasons to Carry a Spork
- Forums: Spork vs. spoon
- Forums: Lightest Folding Spoon Ever?
- Forums: Toaks vs. Optimus long handle spoon
Editors Note: Andrew Marshall here. I can’t let this section go by without indulging in a small rant about my biggest pet peeve in backpacking, which is sporks. Sporks fail basic functionality tests as both forks and spoons. They have tines that are too small to be effective as a fork and large slots which make them ineffective as spoons. My two cents? Just use a spoon. I dare you to find a food you will eat routinely on a backpacking trip which demands the use of small spork tines. It’s possible to extrapolate this concept into a larger debate around specialized vs. multi-use gear. I’ll leave that for another day. (Your mileage may vary…)
What’s the best way to store backpacking food while camping in the backcountry?
Properly storing your food is essential to keeping wildlife safe, ensuring that future campers don’t have issues with habituated wildlife, and making sure that you don’t have a trip ruined after your food is eaten by a bear.

Hanging food was, for many years, the go-to method of securing food in the backcountry. But even in the best of circumstances, it has its drawbacks. Finding the right tree and branch can be time-consuming and often impossible, depending on where you are backpacking.
Cords can damage trees, and squirrels and other rodents sometimes climb down the cord and gnaw through the thin fabric of bear bags. And in many land management units, hanging food is not allowed.
For all these reasons, bear hanging is slowly falling out of favor. However, the method still enjoys great popularity east of the Mississippi, where deciduous forests with overhanging branches are more common.
Products like Ursaks and bear canisters offer near-certain protection for your food if used properly and eliminate the hassle of finding trees appropriate for hanging.
- Online Course: Protecting Your Food From Bears
- Skills: How to Use an Ursack
- Forum: Bearikade Expedition MKII / Outsak UL / Bear Vault BV500
- Forum: Bear-bagging above treeline
- Testing: How Safe Is Your Food? Investigating the effectiveness of odor-proof bags
What brands are the main suppliers of backpacking food, stoves, and cooking and storage supplies?
The list below is not comprehensive by any measure, but it does represent a good starting place. Every brand listed here makes quality gear that we or our contributors have tested and can recommend.
Backpacking food is an intensely personal choice, and variations in preparation and cooking spring from those initial choices. Our advice is to try a bunch of different food and food strategies and see what you like before investing heavily in gear. We also recommend that you make use of our forums and the collected wisdom of our community.
Link Disclosure: The brand links below link to our brand gateway pages, which provide an index to articles, gear swap listings, and member reviews related to that brand. Likewise, all links on this page will direct to original content created by Backpacking Light. You may find affiliate links elsewhere on our site (read our disclosure letter here), but we don’t use them on this page.
Packaged Meals
- AlpineAire
- Backpacker’s Pantry
- Food for the Sole
- Good To-Go
- Heather’s Choice
- Mary Jane’s Farm
- Mountain House
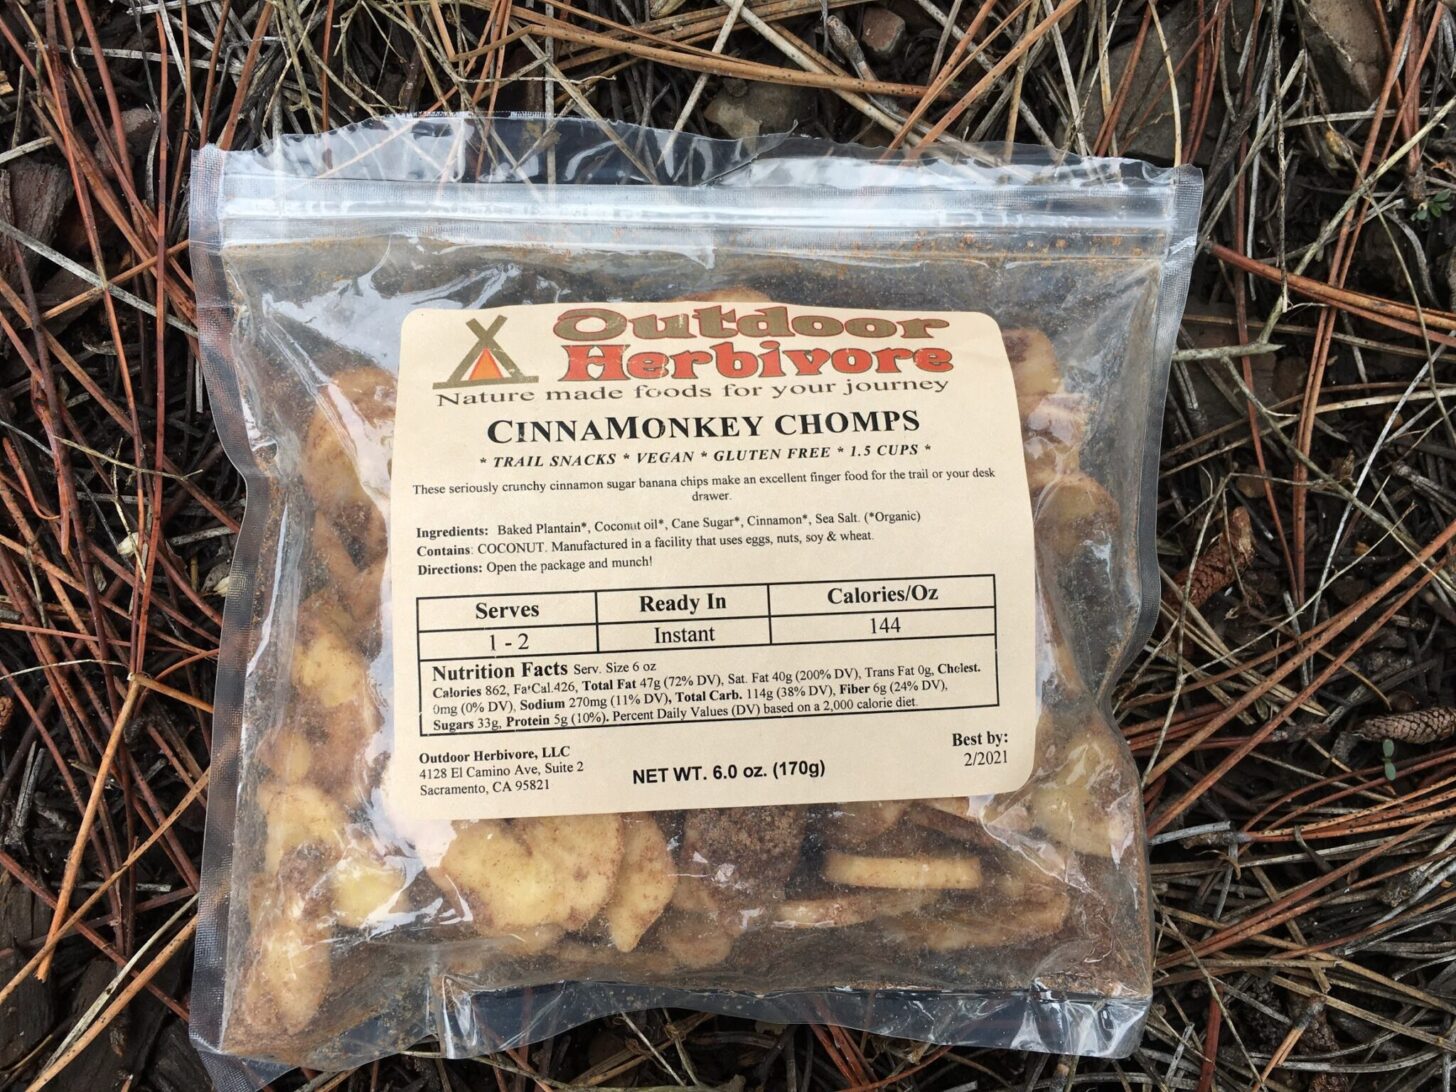
- Outdoor Herbivore
- Packit Gourmet
- Pinnacle Foods
Bear resistant food storage:
Stove and stove accessories:
Cookware
Food Prep and long-term food storage
Search and discovery
- Discover more food-related content using our search tools.
- Browse the Food and Consumables category in our Category Browser to find more articles, Member Gear Swap listings (classified ads for used gear), Member Gear Reviews, and more.
- Search the forums for all threads about food.
- Browse our curated recommendations for food, cooking, and storage tools in the Backpacking Light Gear Shop. The Gear Shop is a product research & discovery tool to explore Member gear reviews, Gear Swap (used gear) listings, and more info about specific products recommended by our staff and members.
- Find food on sale using our Gear Finder search engine.
Help us maintain this page
If you found value in other related resources at Backpacking Light that you’d like to share with our community, please post them in the comments section below. No external links or resources, please – this trailhead is designed to be an index of content at Backpacking Light.
DISCLOSURE (Updated April 9, 2024)
- Product mentions in this article are made by the author with no compensation in return. In addition, Backpacking Light does not accept compensation or donated/discounted products in exchange for product mentions or placements in editorial coverage. Some (but not all) of the links in this review may be affiliate links. If you click on one of these links and visit one of our affiliate partners (usually a retailer site), and subsequently place an order with that retailer, we receive a commission on your entire order, which varies between 3% and 15% of the purchase price. Affiliate commissions represent less than 15% of Backpacking Light's gross revenue. More than 70% of our revenue comes from Membership Fees. So if you'd really like to support our work, don't buy gear you don't need - support our consumer advocacy work and become a Member instead. Learn more about affiliate commissions, influencer marketing, and our consumer advocacy work by reading our article Stop wasting money on gear.

Home › Forums › Backpacking Food